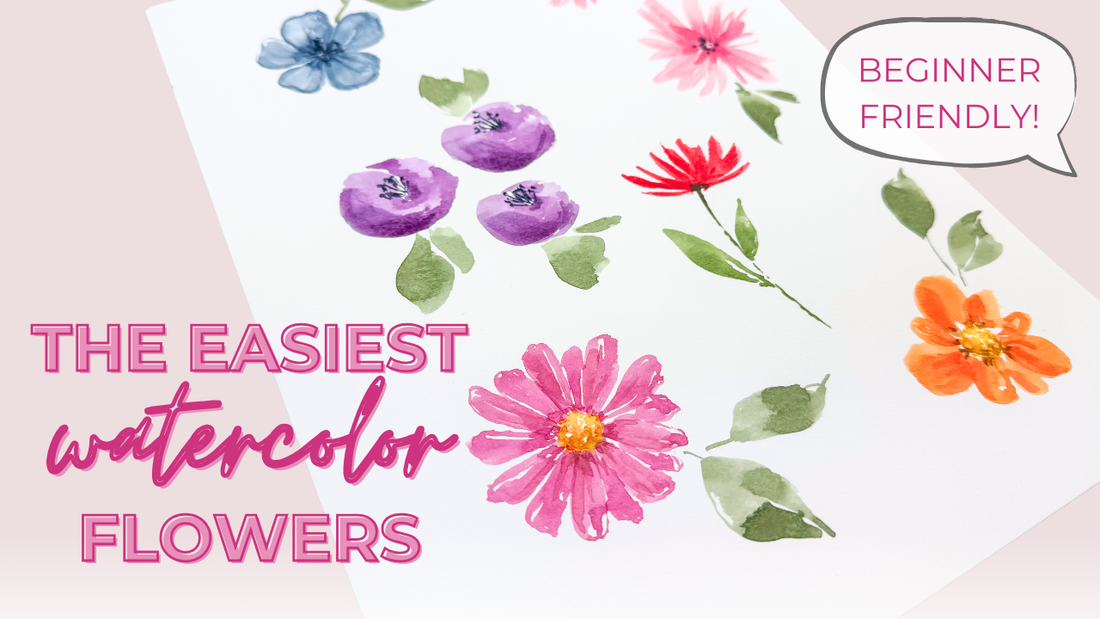
The Easiest Watercolor Flowers - Perfect for Beginners!
Hello, friends! I'm Shelly Cluff, and today I'm thrilled to guide you through painting some of the easiest watercolor flowers. These flowers are perfect for beginners, and I've seen numerous students succeed with them in my classes. So grab your brushes, and let's dive into the world of watercolor flowers!
Getting Started with Supplies
Before we begin, let's gather our supplies. Today, I'm using the Canson XL watercolor paper, which you can find on Amazon. My brush of choice is the size six Aqua Elite Brush by Princeton, available at Amazon Arts, Crafts & Sewing store. I'll also be using my custom watercolor palette, which you can purchase from Shelly Cluff Art. To wake up my paints, I mist my palette with a bit of water before diving in.
The Five-Petal Flower
Let's start with the classic five-petal flower, a popular choice in watercolor. I'll be painting this one in a beautiful indigo blue. The key to this flower is spacing the petals correctly, so picture a person doing jumping jacks as a guide. Start with five little marks—head, arms, and legs—and pull the color out into rounded triangles. Leave some white space between the petals for added character.
Once the first layer is dry, add a second layer of color to create dimension. You can also drop a bit of color onto wet petals for a beautiful gradient effect.
The Zigzag Flower
Next up is the zigzag flower, which gives the impression of a fluffy, textured bloom. I'll be using quinacridone magenta mellowed with burnt sienna and a touch of lemon yellow for a peachy tone. Start with a light circle as a guide for the center, then zigzag your brush back and forth to create petal-like shapes.
This flower is playful and versatile, perfect for creating patterns or adding texture to a painting. You can make it large for a bold statement or small for delicate fillers.
The Donut Flower
The donut flower is another fun shape, resembling a lopsided circle. I'll use purple lake deepened with ultramarine blue for a royal purple vibe. Press your brush down for a wide stroke, then create a lopsided circle with an offset center.
These flowers look best in groupings, and once dry, you can add details to the centers for extra life.
The Daisy
The daisy might look advanced, but it's surprisingly approachable. Start by scumbling a cadmium yellow center, then create long petals using quinacridone magenta mixed with burnt sienna and burnt umber for a rustic pink.
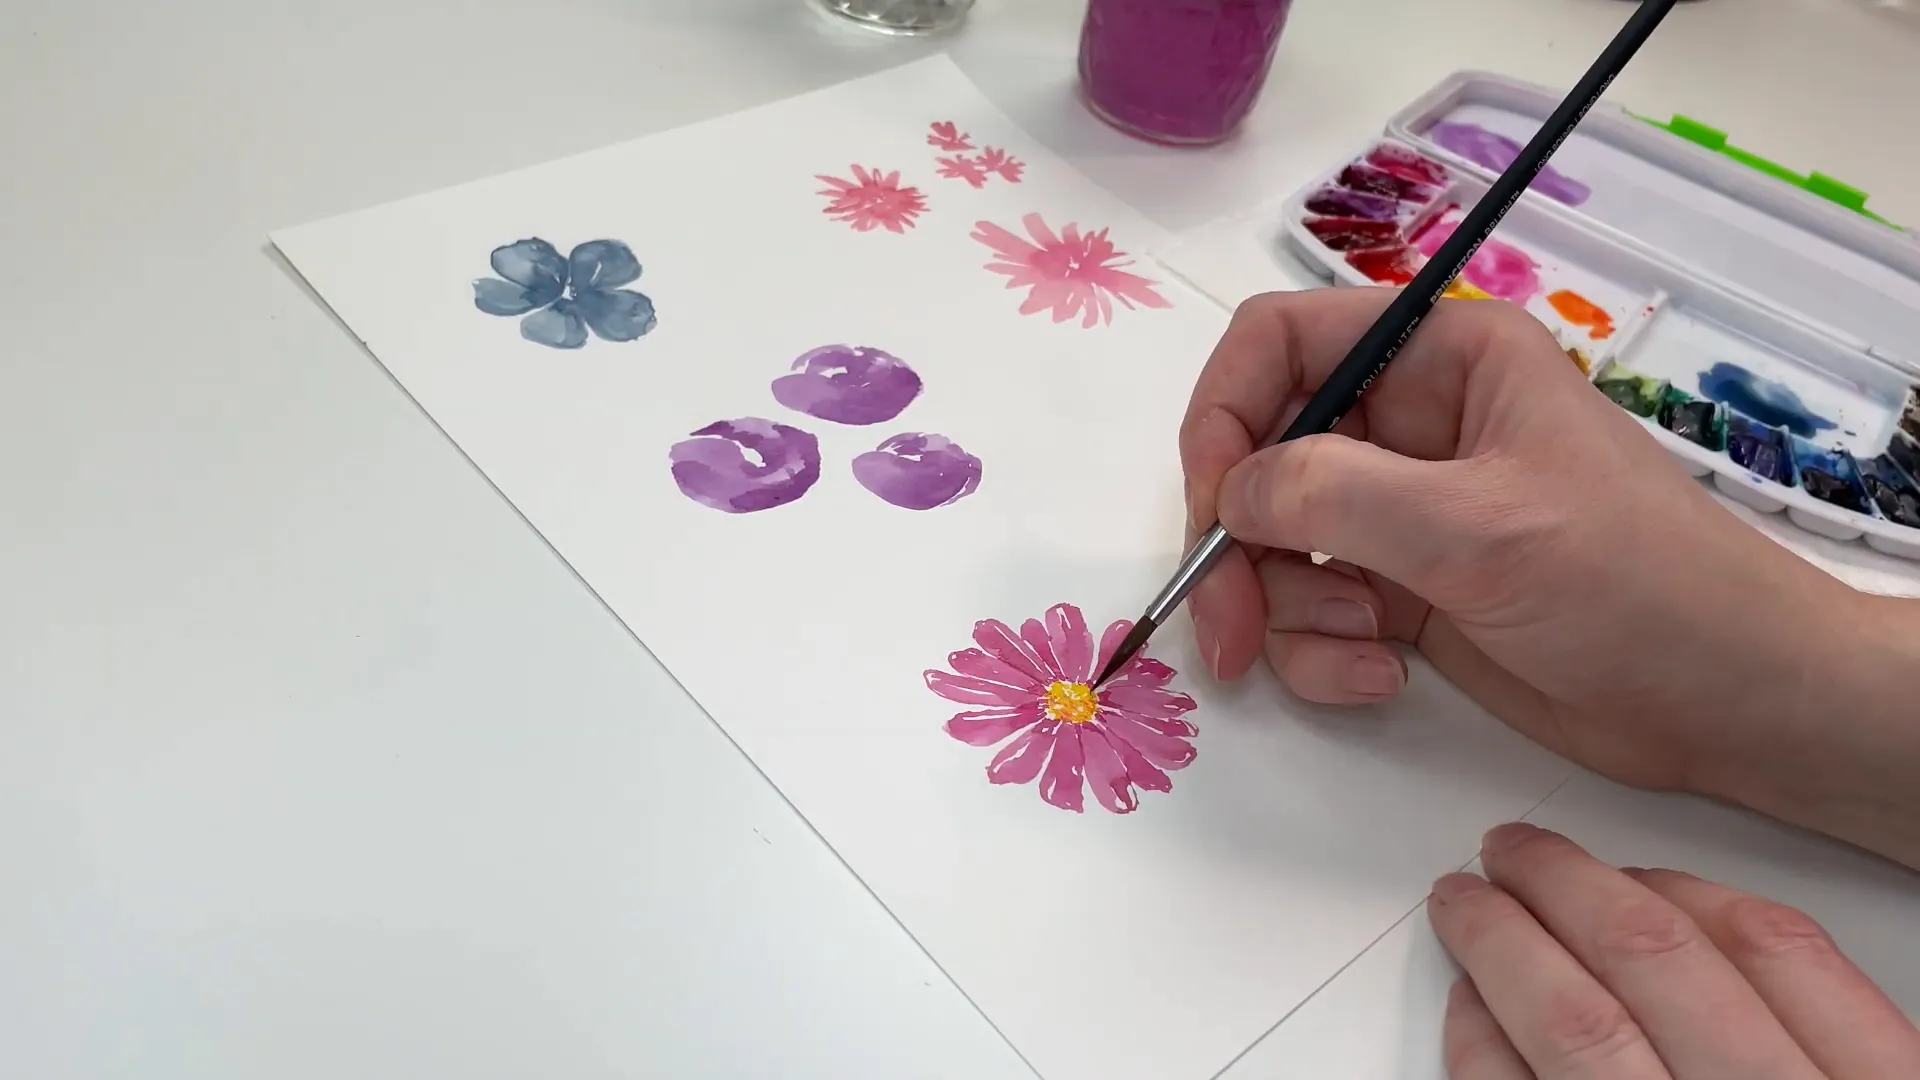
Jump around the flower as you paint the petals to mimic nature's randomness. Once the petals are dry, add a touch of orange to the center for dimension.
The Poppy
The poppy flower is vibrant and dynamic. I'll use a mix of cadmium red and alizarin crimson to capture its essence. Create a curved V-shape and add a few flicks for texture. Add a stem with sap green mixed with indigo for a darker hue.
If you like, add some leaves for a more complete look.
The M Flower
The M flower is loose and fun, with a playful shape. Start with a scumbled cadmium yellow center, then create an M shape with vibrant orange petals. Rotate the paper and repeat the pattern to form the flower.
This flower benefits from a second layer for added dimension, following the initial petal shapes with a slightly darker shade.
Adding Dimension and Details
Now let's enhance our flowers with a second layer for more depth. For the five-petal flower, use a darker indigo to create zigzag shapes in the center. The zigzag flower can benefit from additional zigzag motions in the middle. For the donut flowers, add shadow to the bottom and center curves.
For daisies, add brown to the center's edge for shape, and deepen the petals' color towards the middle. The poppy's initial layer was dark, but you can still add some swipes for texture. Finally, the M flower can have brown details at the base of the petals for anchoring.
Final Touches with Greenery
Greenery can make all the difference in bringing your flowers to life. I love using a mix of viridian green, burnt umber, and sap green for leaves. Add stems and leaves to each flower, using different shapes and brush strokes for variety.
Experiment with pressing and lifting brush techniques to create different leaf shapes, and don't worry about being perfect—nature is wonderfully imperfect!
And there you have it, our easiest watercolor flowers! I hope you enjoyed this tutorial and feel inspired to create your own floral masterpieces. I'd love to see what you've painted, so feel free to tag me on Instagram or join my Facebook community to share your work with fellow watercolor enthusiasts. Happy painting!