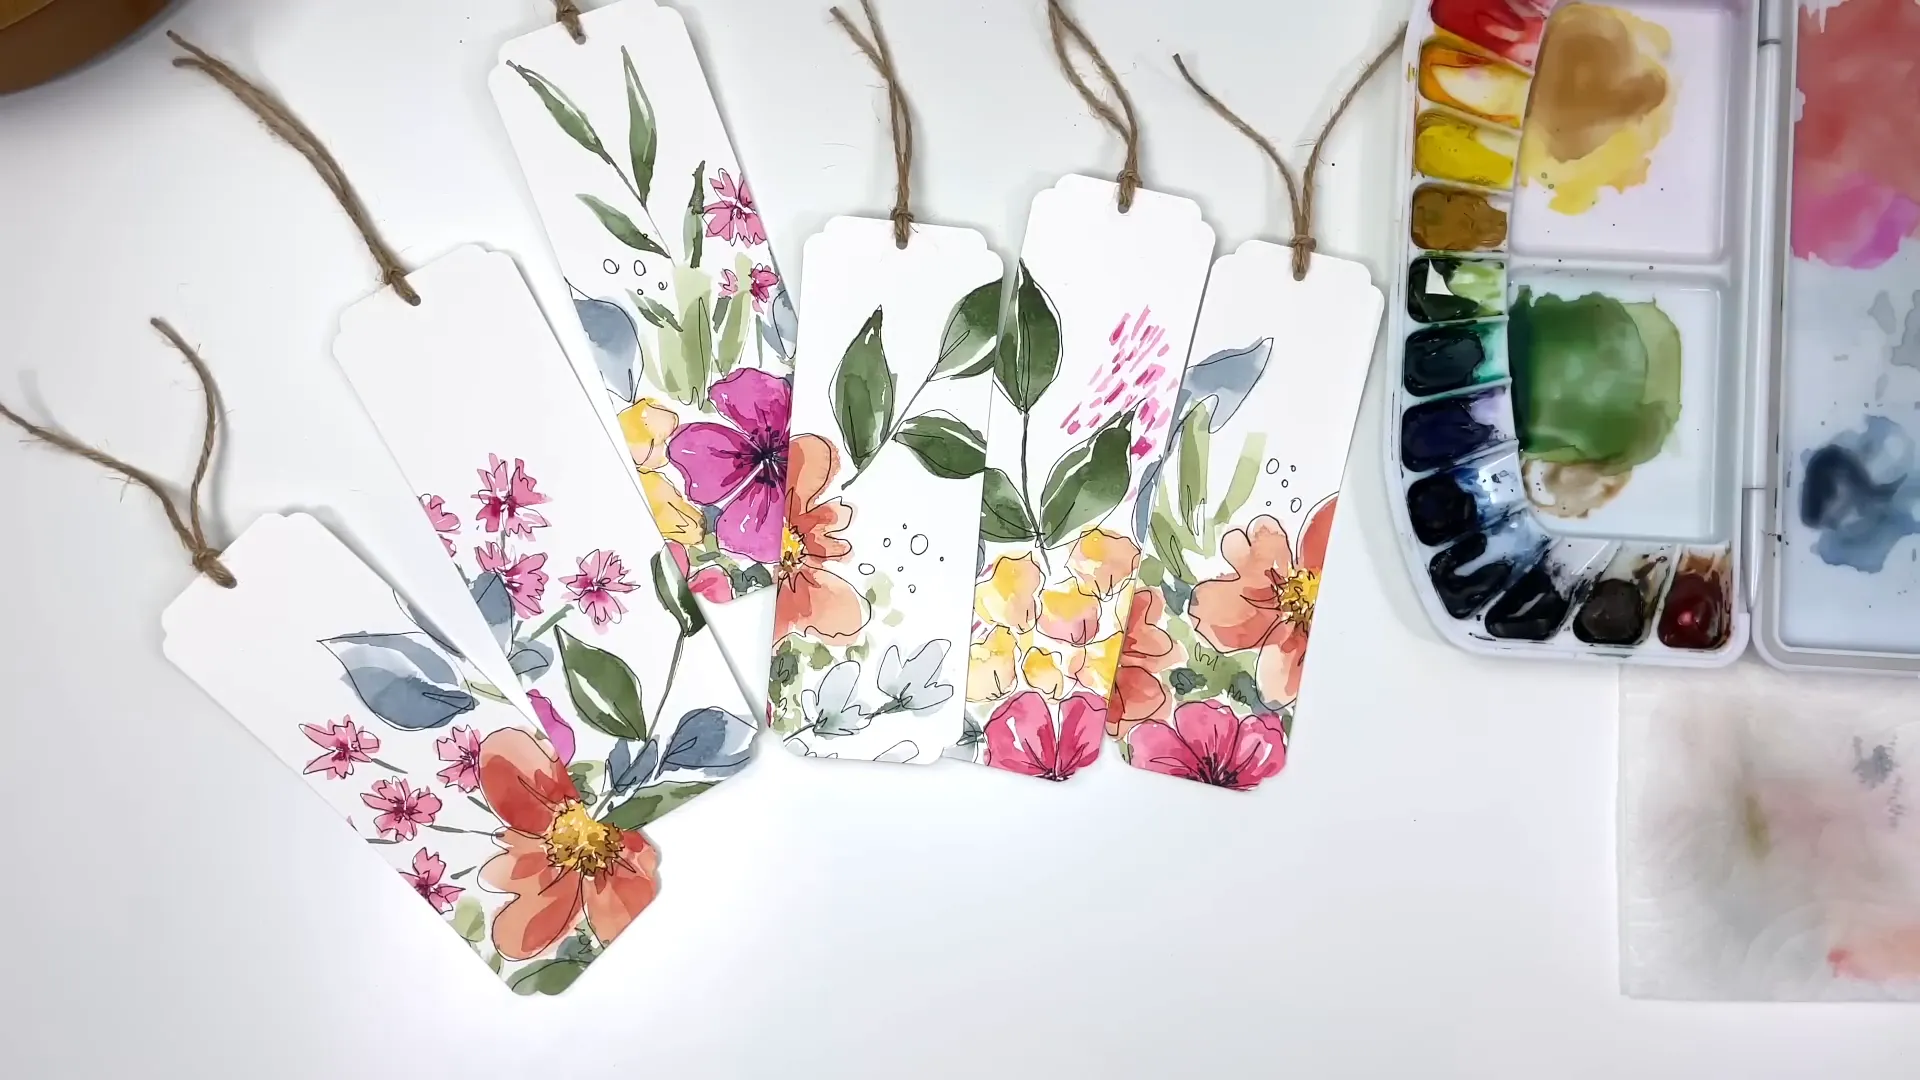
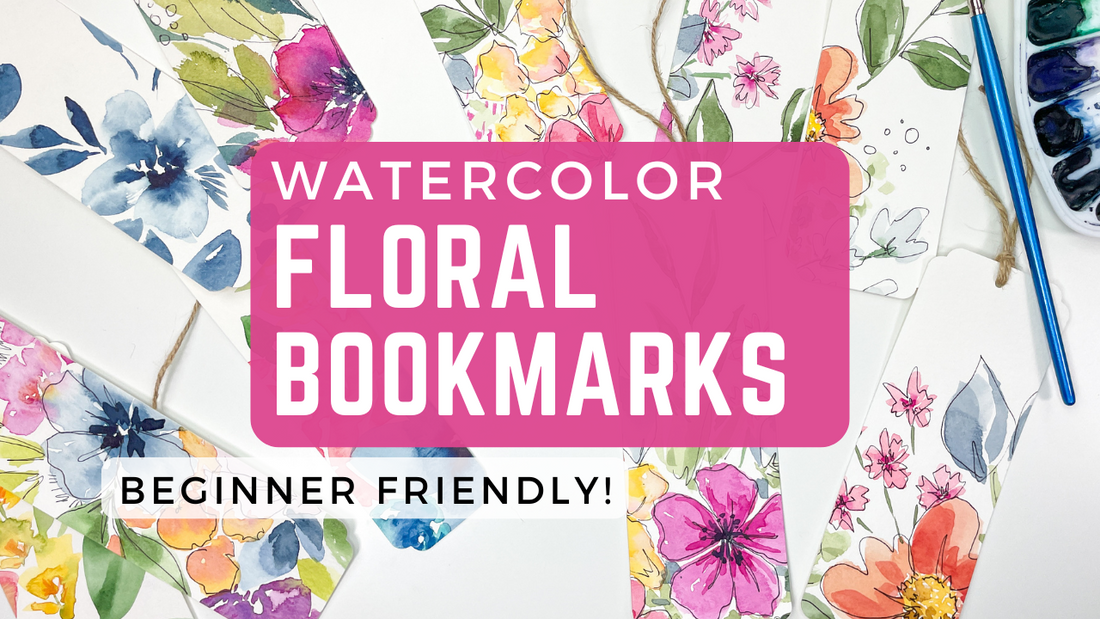
Watercolor bookmarks are a delightful way to combine creativity with functionality. In this guide, we'll walk through the process of painting charming floral bookmarks, perfect for personal use or as thoughtful gifts. Let's dive into the world of watercolor florals!
Supplies Needed
To start our watercolor bookmark project, you'll need a few essential supplies:
- Watercolor Palette: I use Winsor Newton paints.
- Brushes: A size 4, size 6, and optionally a size 10 brush.
- Micron Pen: I prefer the 01 and 005 sizes for outlining.
- Watercolor Paper: Canson XL watercolor paper works well.
- Paper Trimmer: For cutting the bookmarks to size.
- Twine: For creating tassels on the bookmarks.
- Hole Punch: To make holes for the twine.
- Corner Punch: To create rounded corners on the bookmarks.
Make sure you have a water container and paper towels handy for cleaning your brushes as you work.
Painting the Flowers
Now that we have our supplies ready, let's start painting some flowers for our bookmarks.
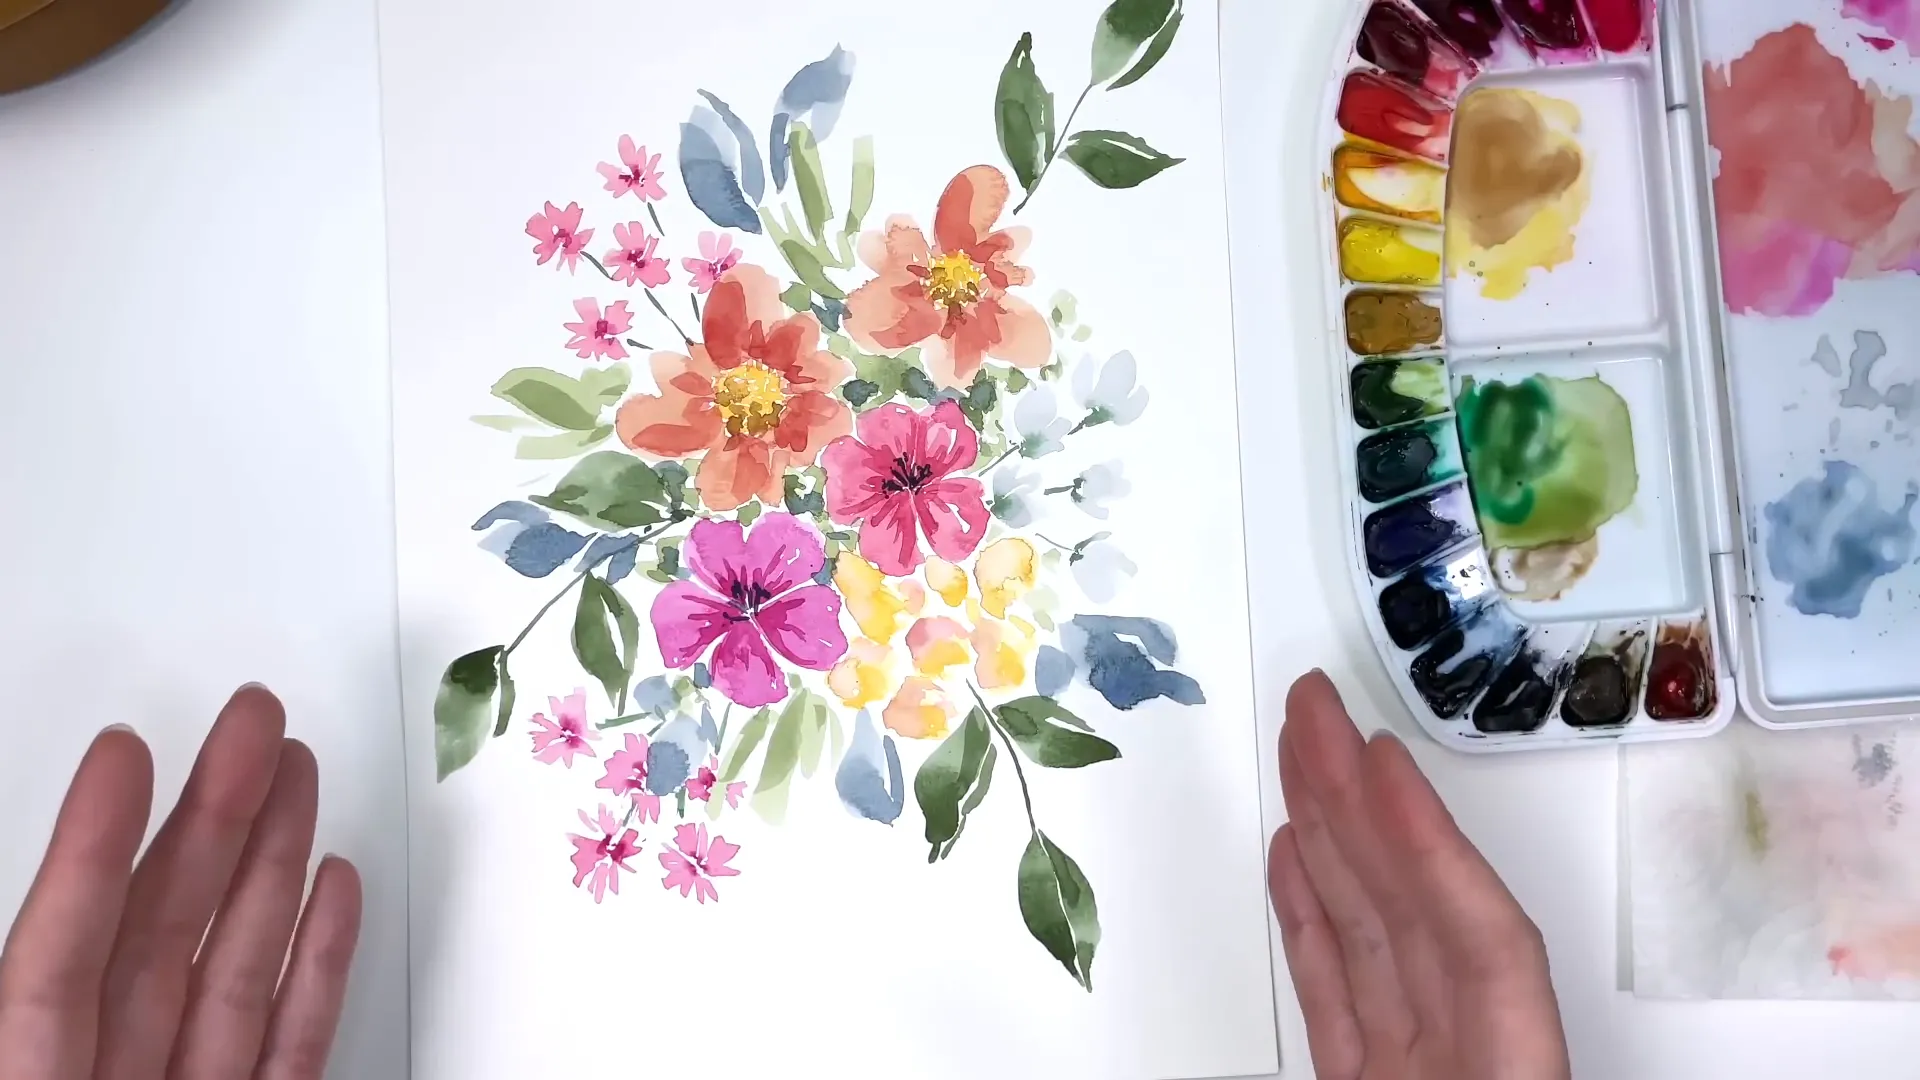
First, we'll create a simple five-petal flower. Using the size 10 brush, load it with quinacridone magenta, a vibrant purpley-pink color. Start by making five little marks in a star shape, which helps in spacing out the petals effectively.
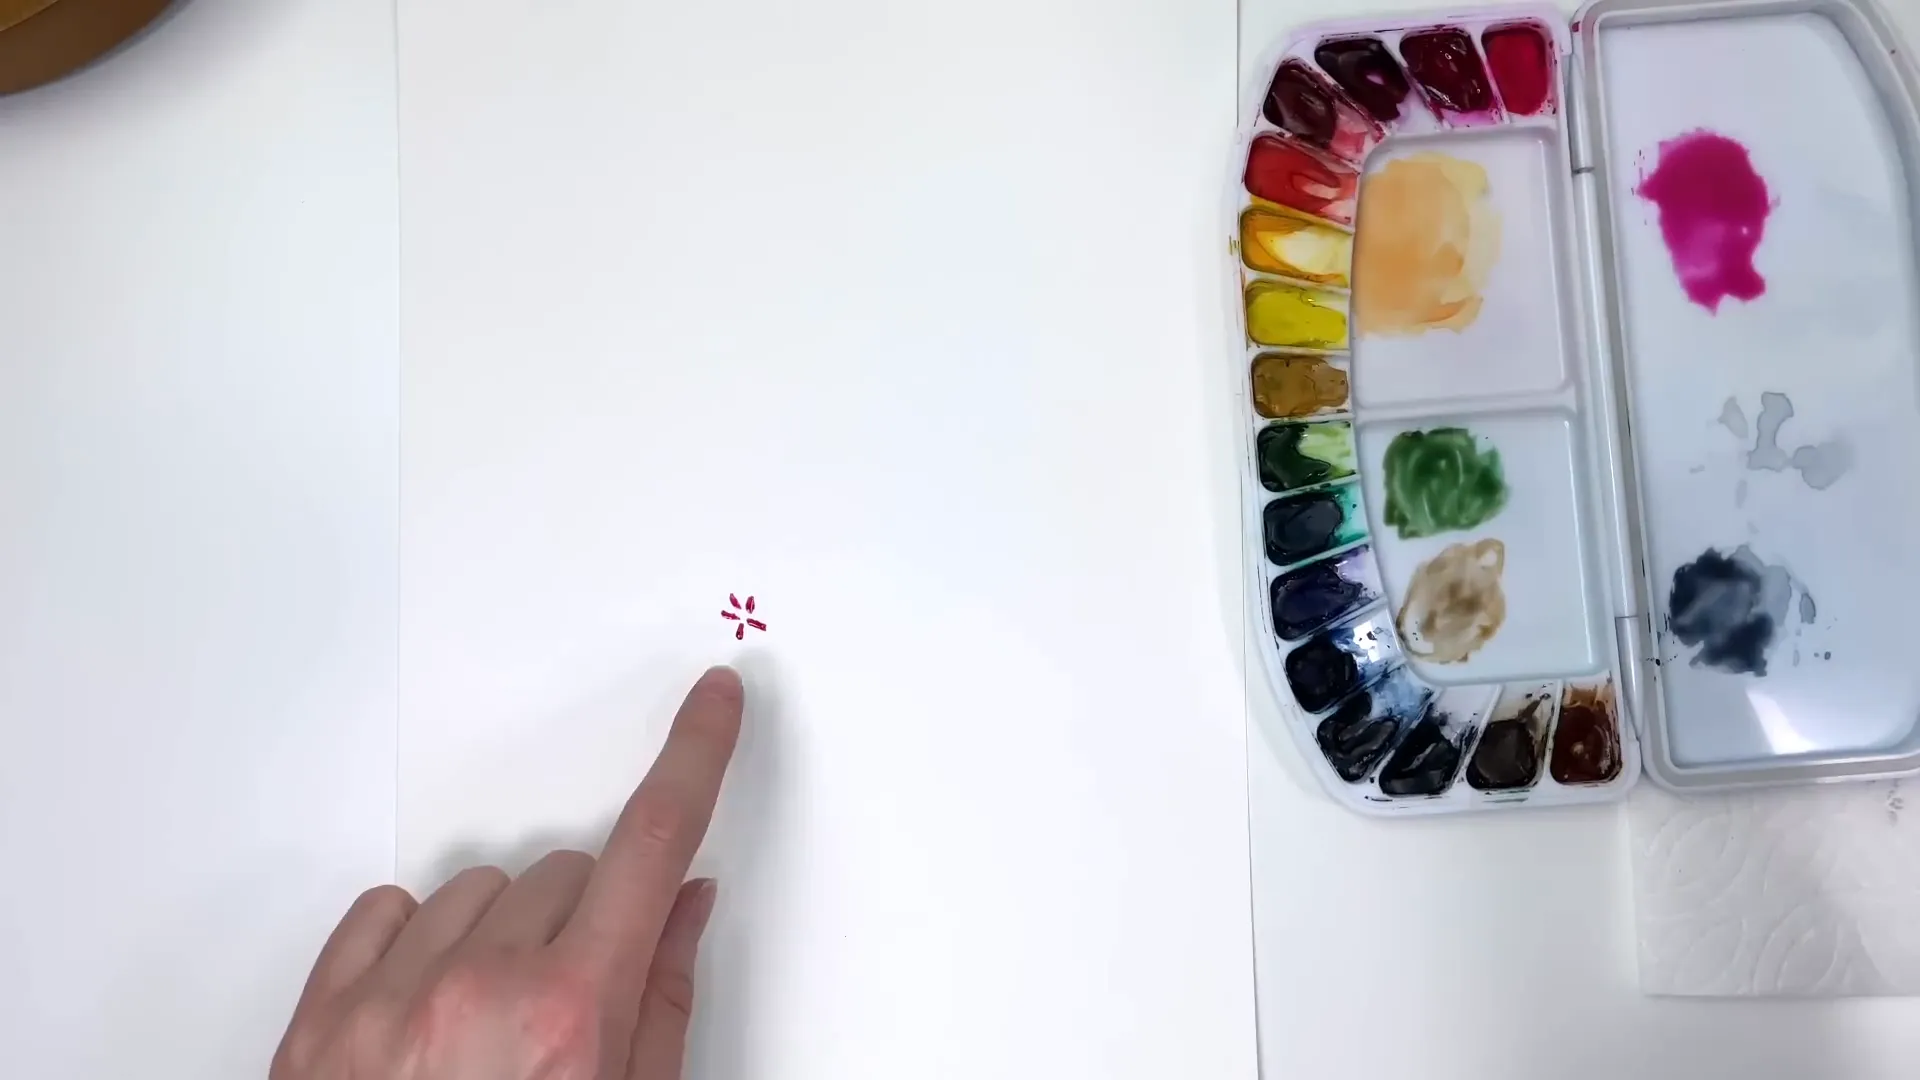
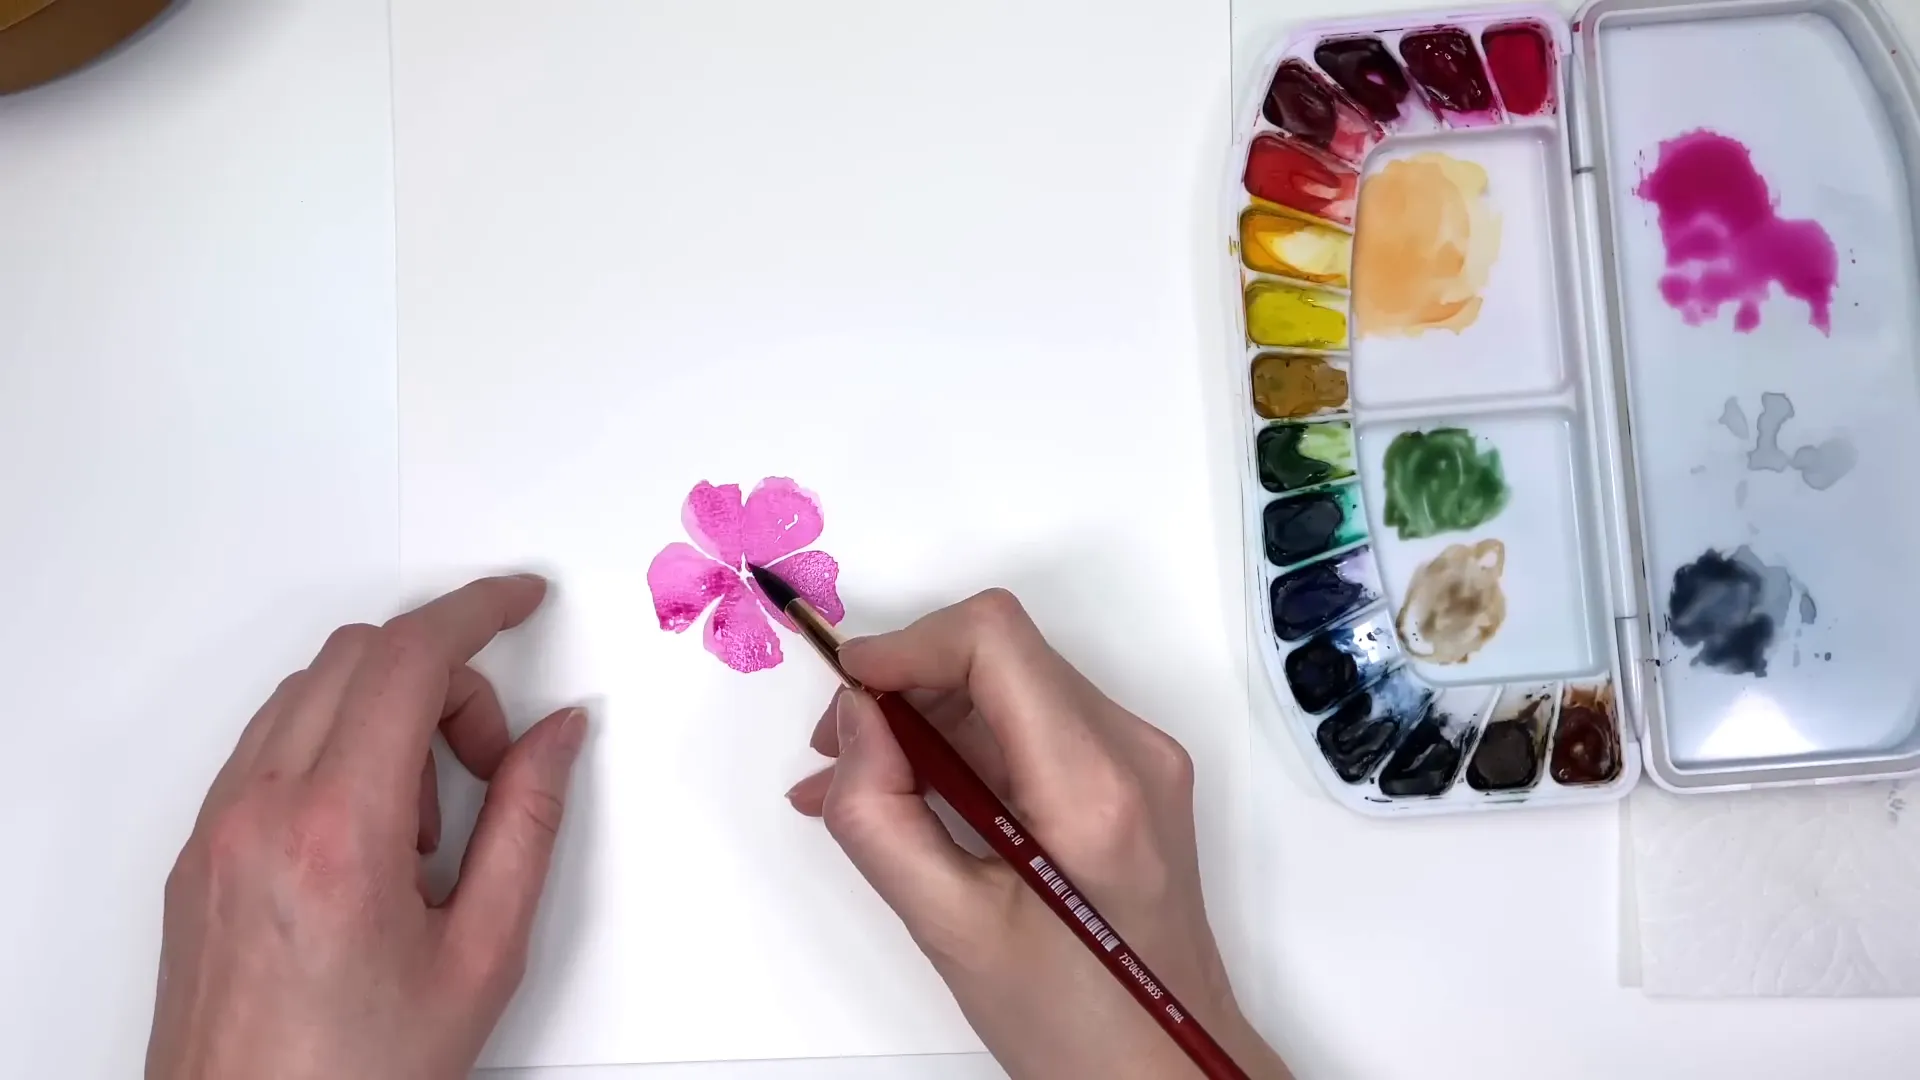
Once you have the five marks, add some water to your brush and spread the paint out to form fan shapes. It's important to leave some white space on the petals and in the center to avoid a blob-like appearance. This technique gives the petals shape and depth.
Creating Variety with Colors
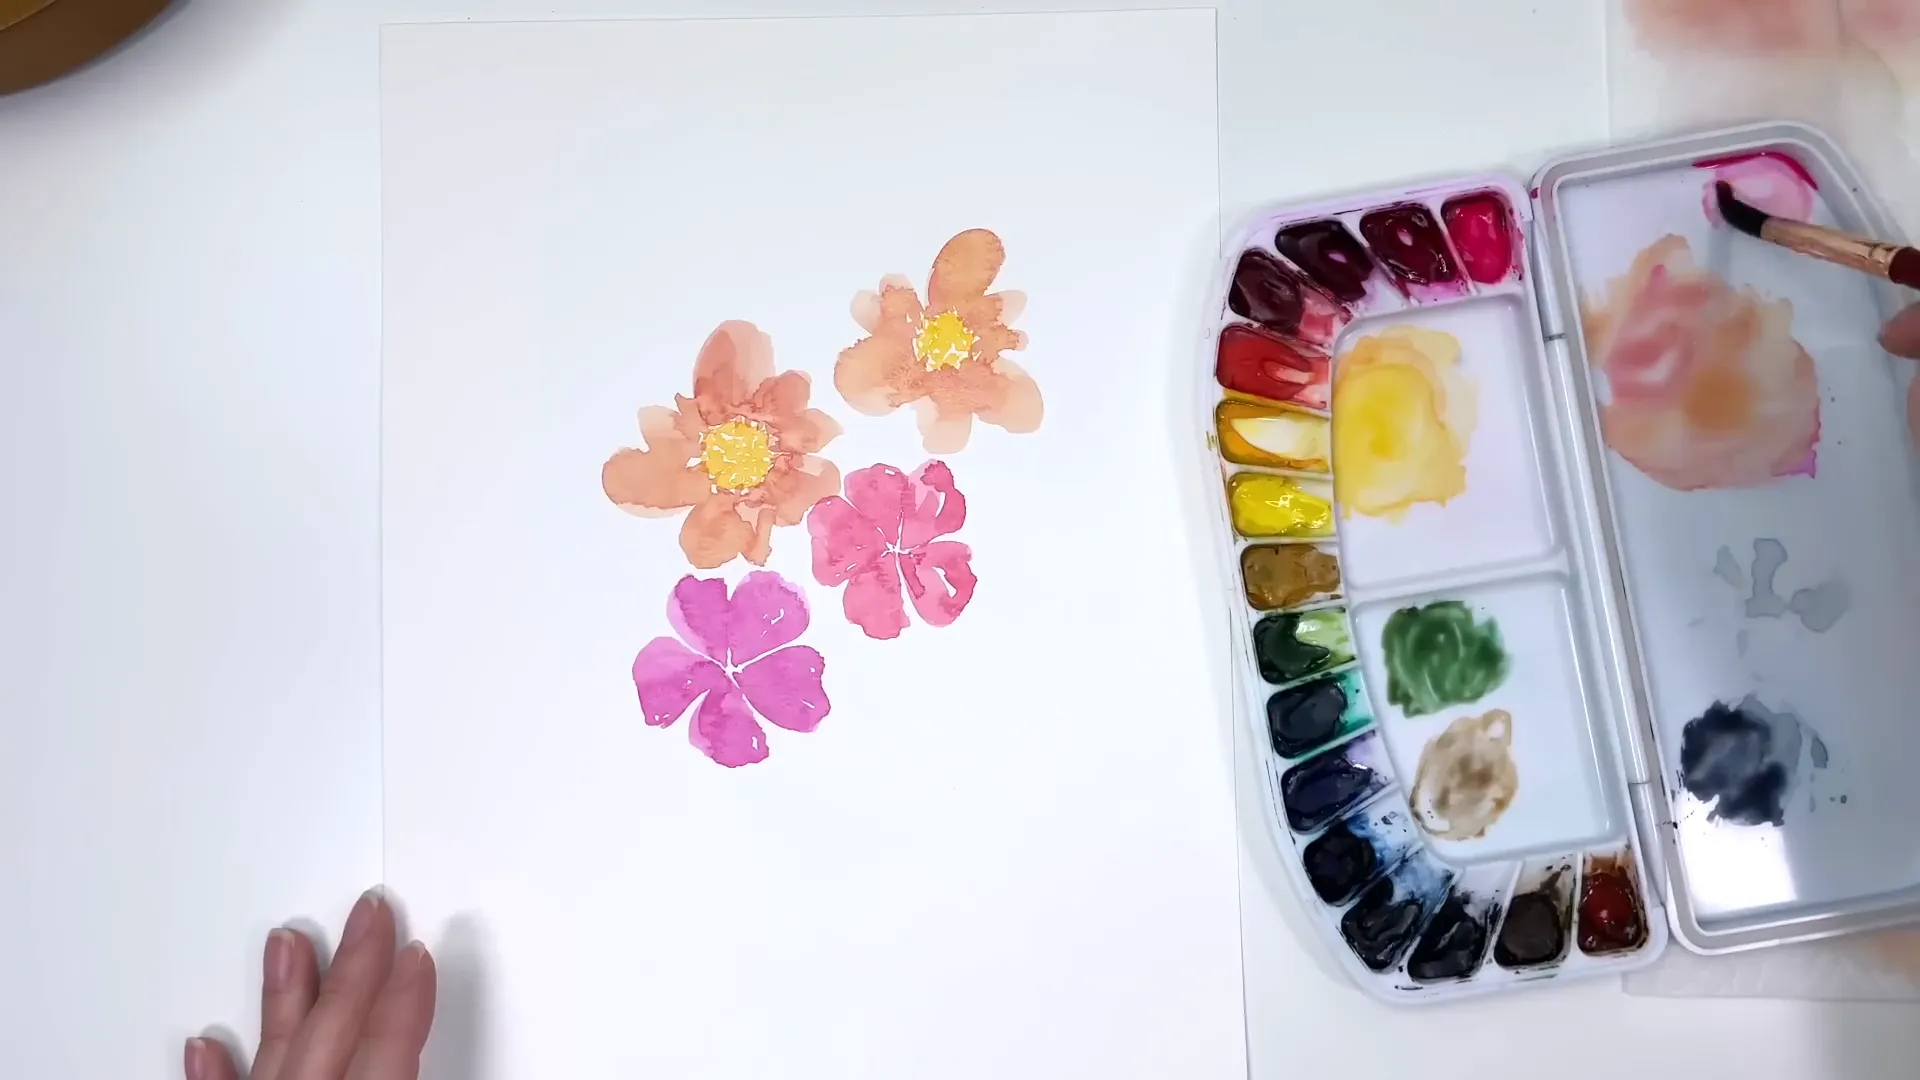
Next, let's introduce some variety with different colors. For a second flower, mix Opera Rose, a bright fluorescent pink, with a touch of lemon yellow for a coral tone. Again, start with the center and work outwards using the same star shape technique.
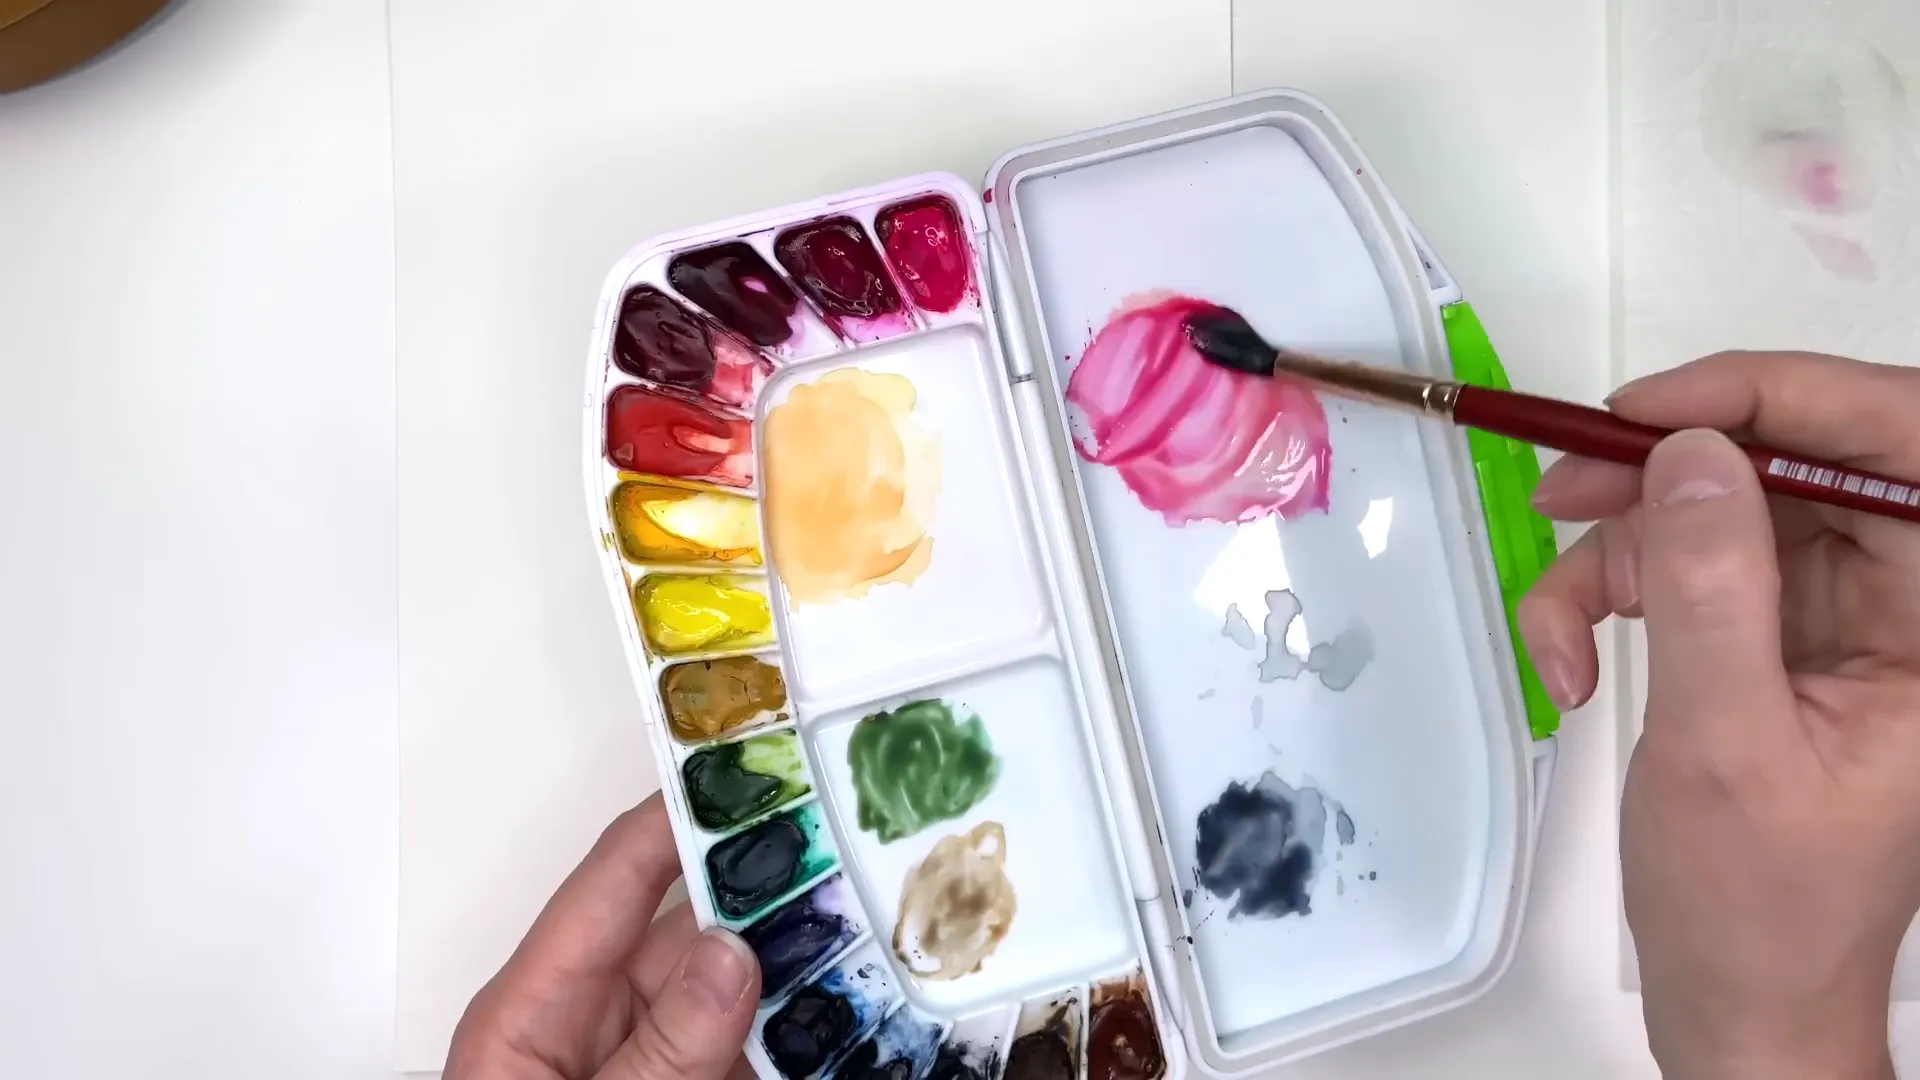
With watercolor, managing the amount of water is crucial. Aim for a shiny surface on the paper, indicating it's wet enough before you start painting. Allow the flowers to connect slightly while wet, embracing the playful nature of watercolor.
Adding More Floral Elements
Now, let's create some filler flowers to fill in the white spaces on our paper. A favorite filler flower is the zigzag flower, which involves zigzagging your brush around an imaginary center. Use a soft pink color, like watered-down Opera Rose mixed with burnt sienna, to give it a more natural look.
As we build out our composition, remember to have fun with it! Watercolor is forgiving, allowing for blobs of color that add charm to your bookmarks.
Layering Techniques
Once the first layer of flowers is dry, we can add a second layer to enhance their depth. Use a darkened version of the initial color to create zigzags in the petals, which helps to anchor the shapes and add dimension.
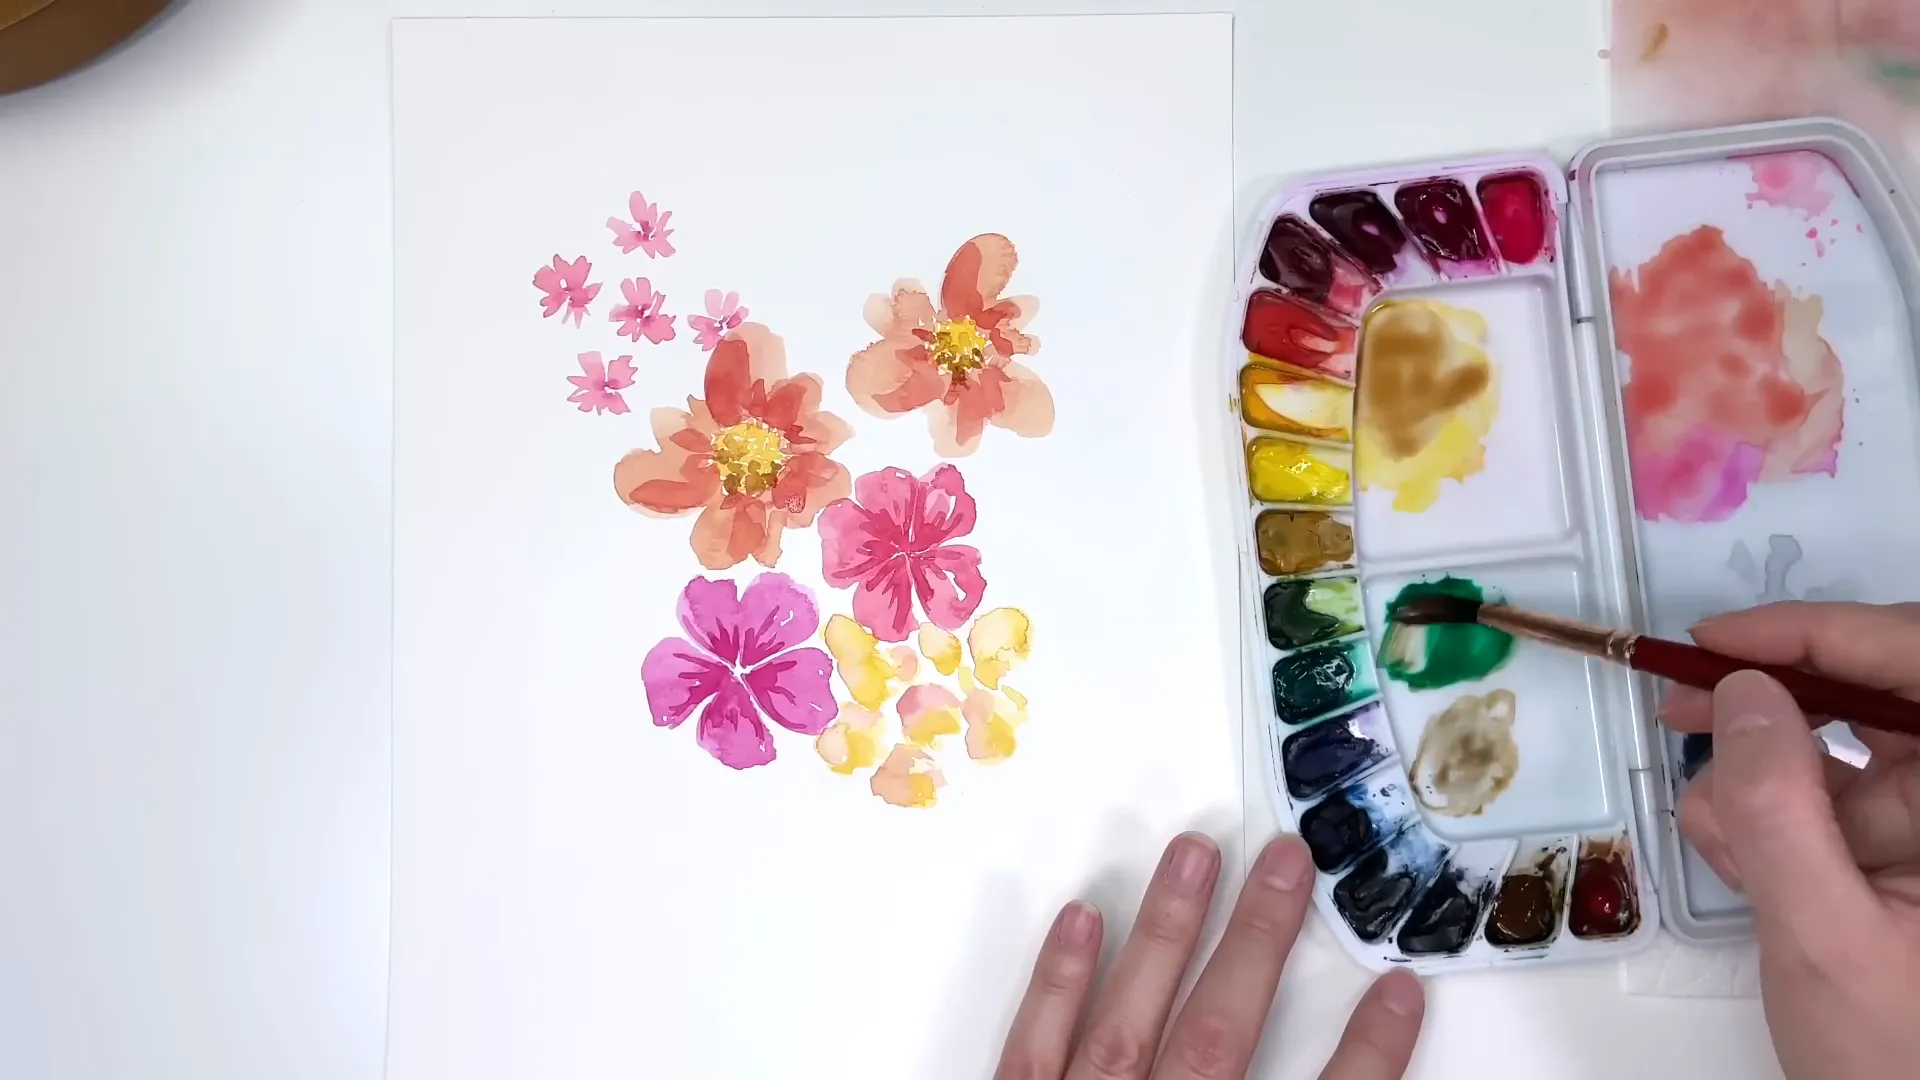
Don't forget to add stems and leaves using a mix of viridian green and burnt umber for a more realistic olive tone. The key is to apply light pressure when painting the leaves, gradually increasing pressure to achieve a pointed tip.
Final Touches and Outlining
After completing the floral painting, let it dry completely before moving on to the outlining phase. Using the Micron pen, outline the shapes of the flowers and leaves. This step adds dimension and can be particularly helpful for beginners.
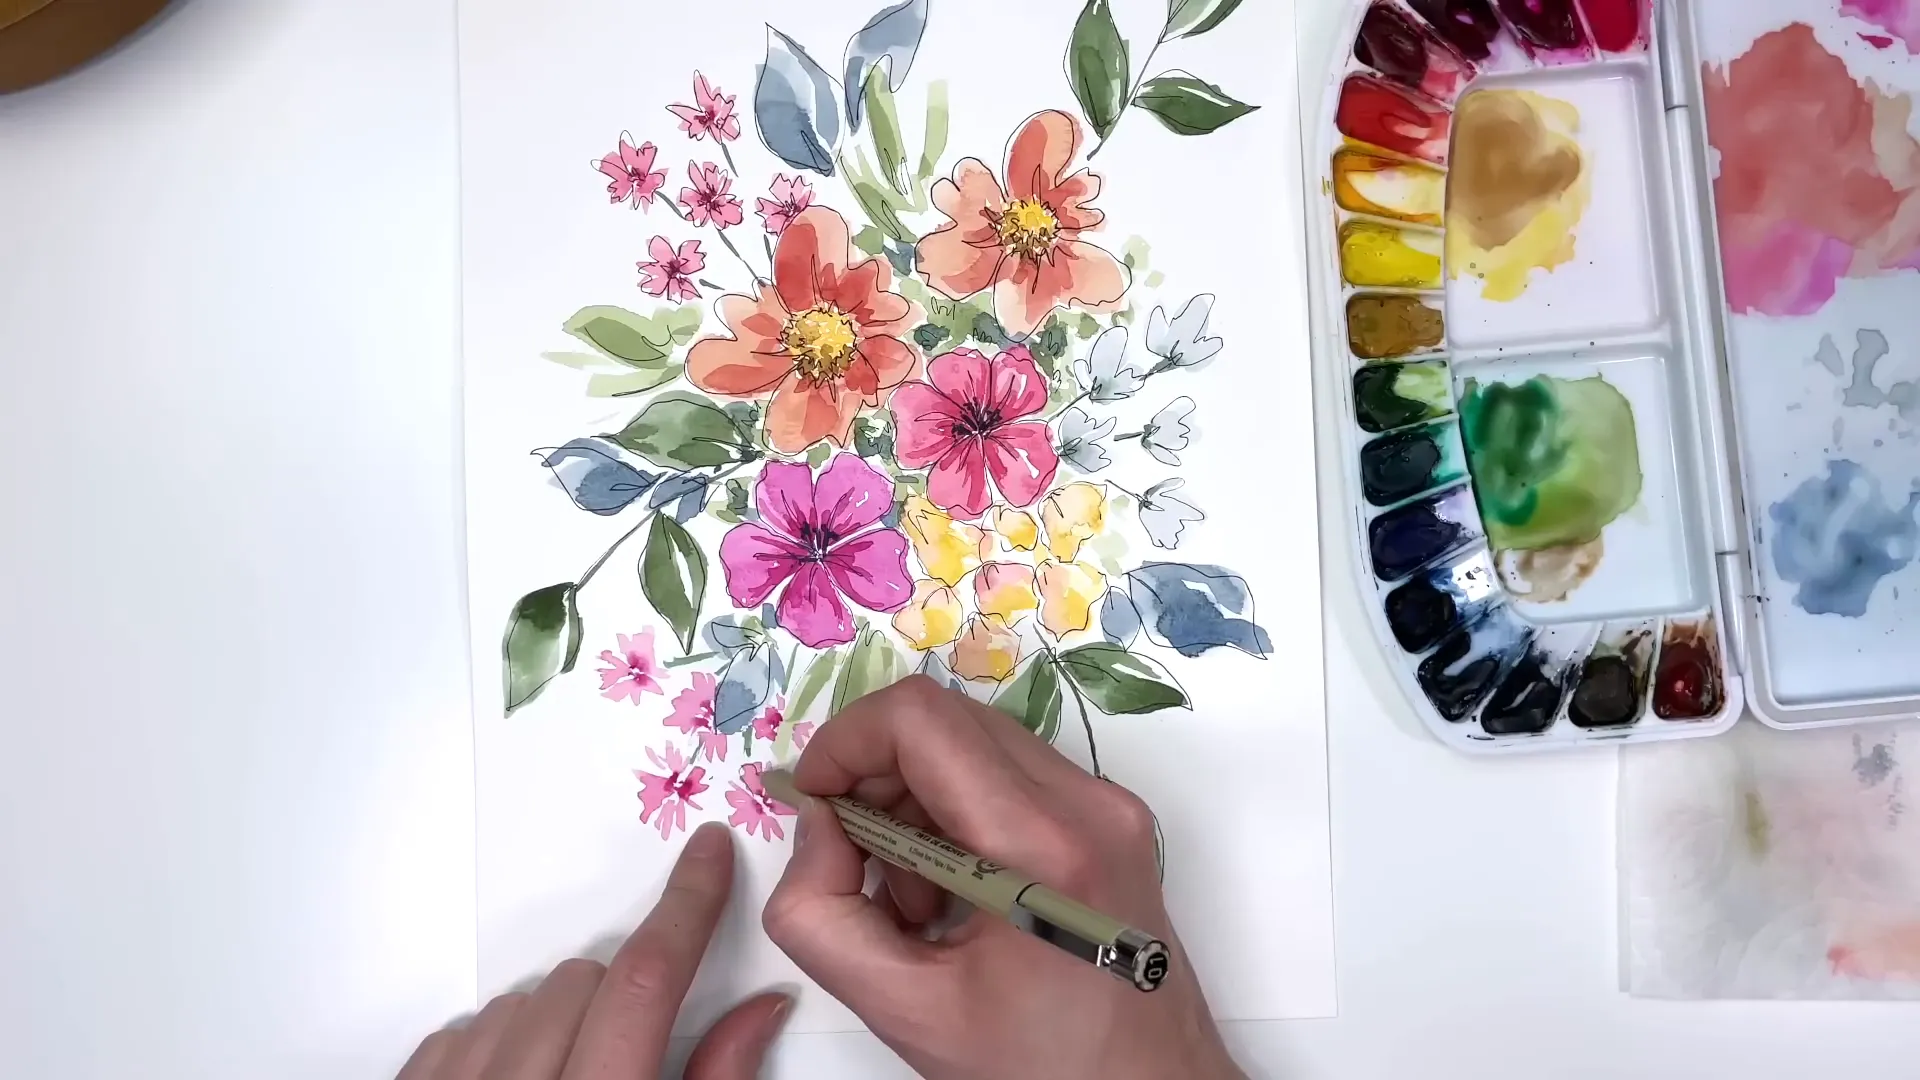
Don't worry about being too precise; a loose, sketchy style can add character to your bookmarks. You can also incorporate additional elements like whimsical bubbles or phrases to enhance the overall design.
Cutting and Finishing the Bookmarks
Once your painting is complete and dry, it's time to cut the bookmarks. I recommend visualizing how you want the final bookmarks to look before making any cuts. A good tip is to chop through the center of a flower to ensure it looks balanced on both sides.
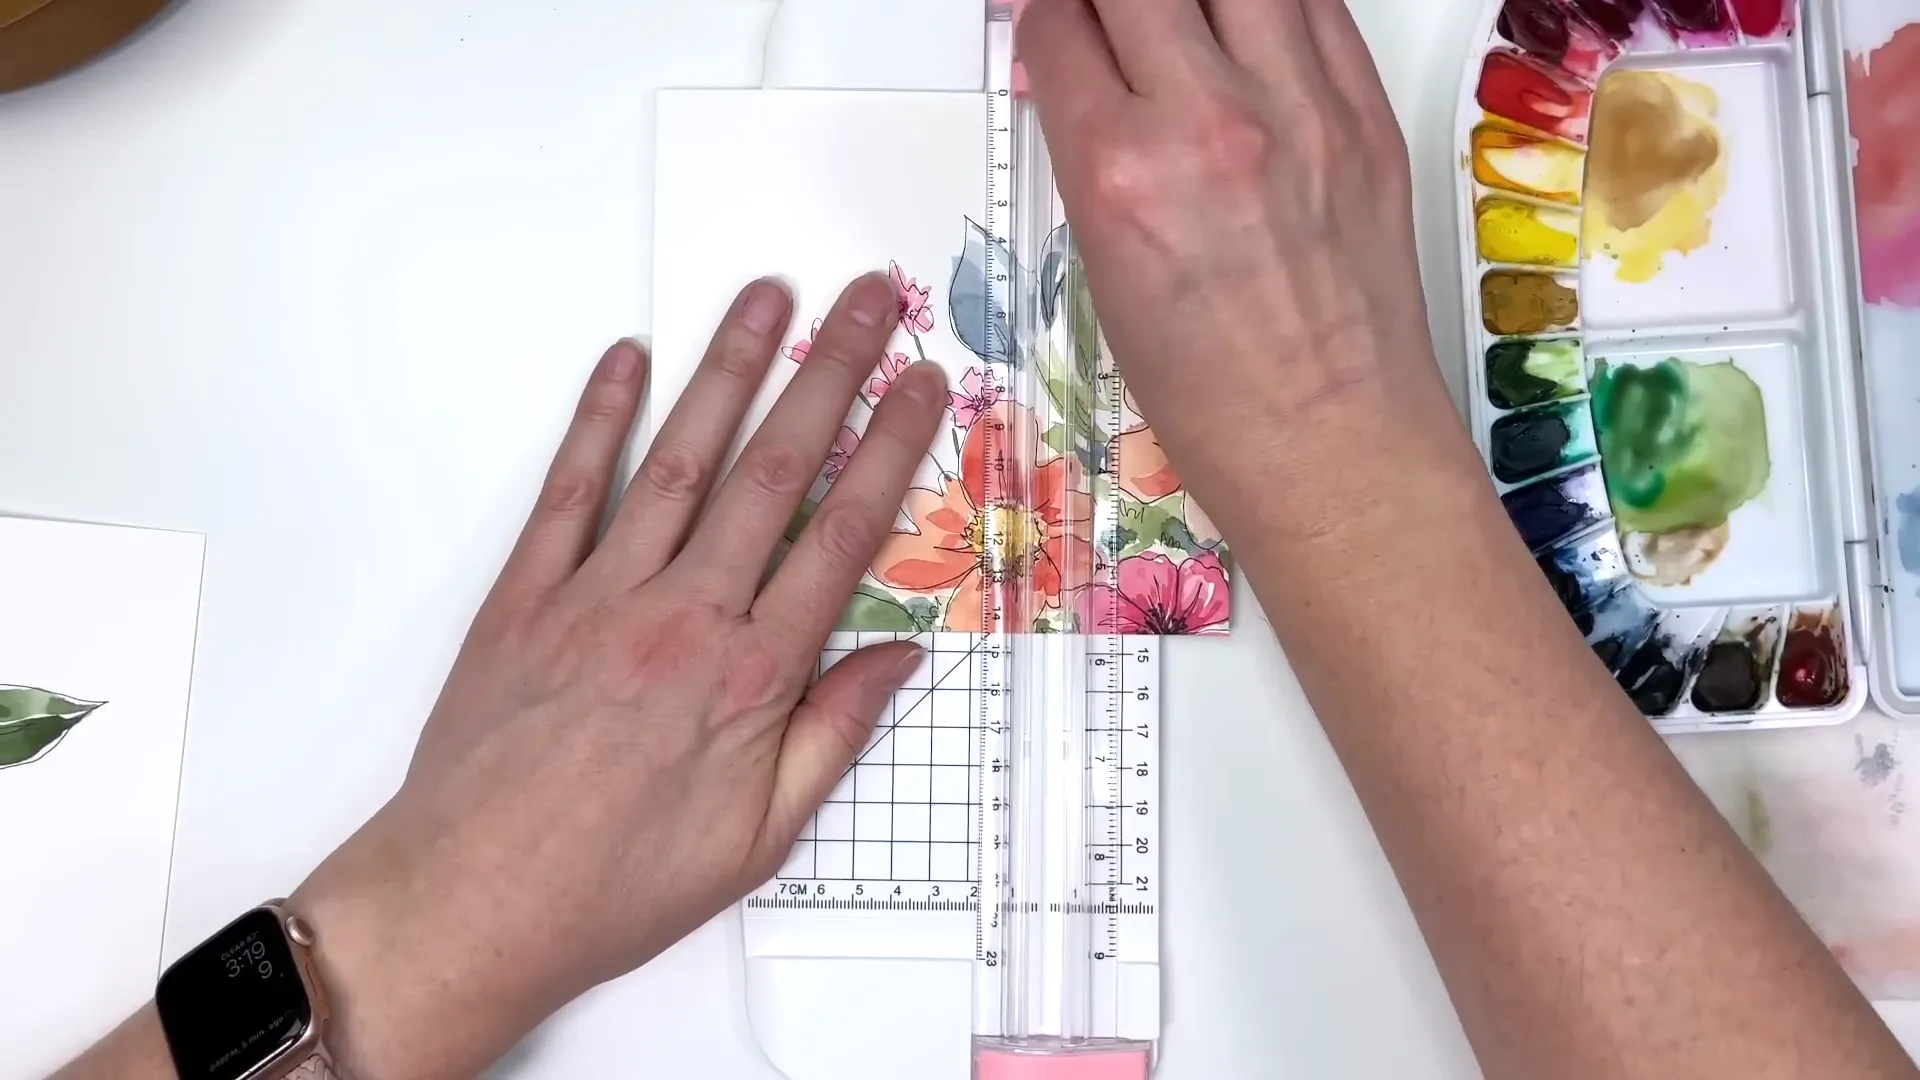
After cutting, use a corner punch to round the edges of your bookmarks for a polished look. Finally, punch a hole at the top of each bookmark for the twine.
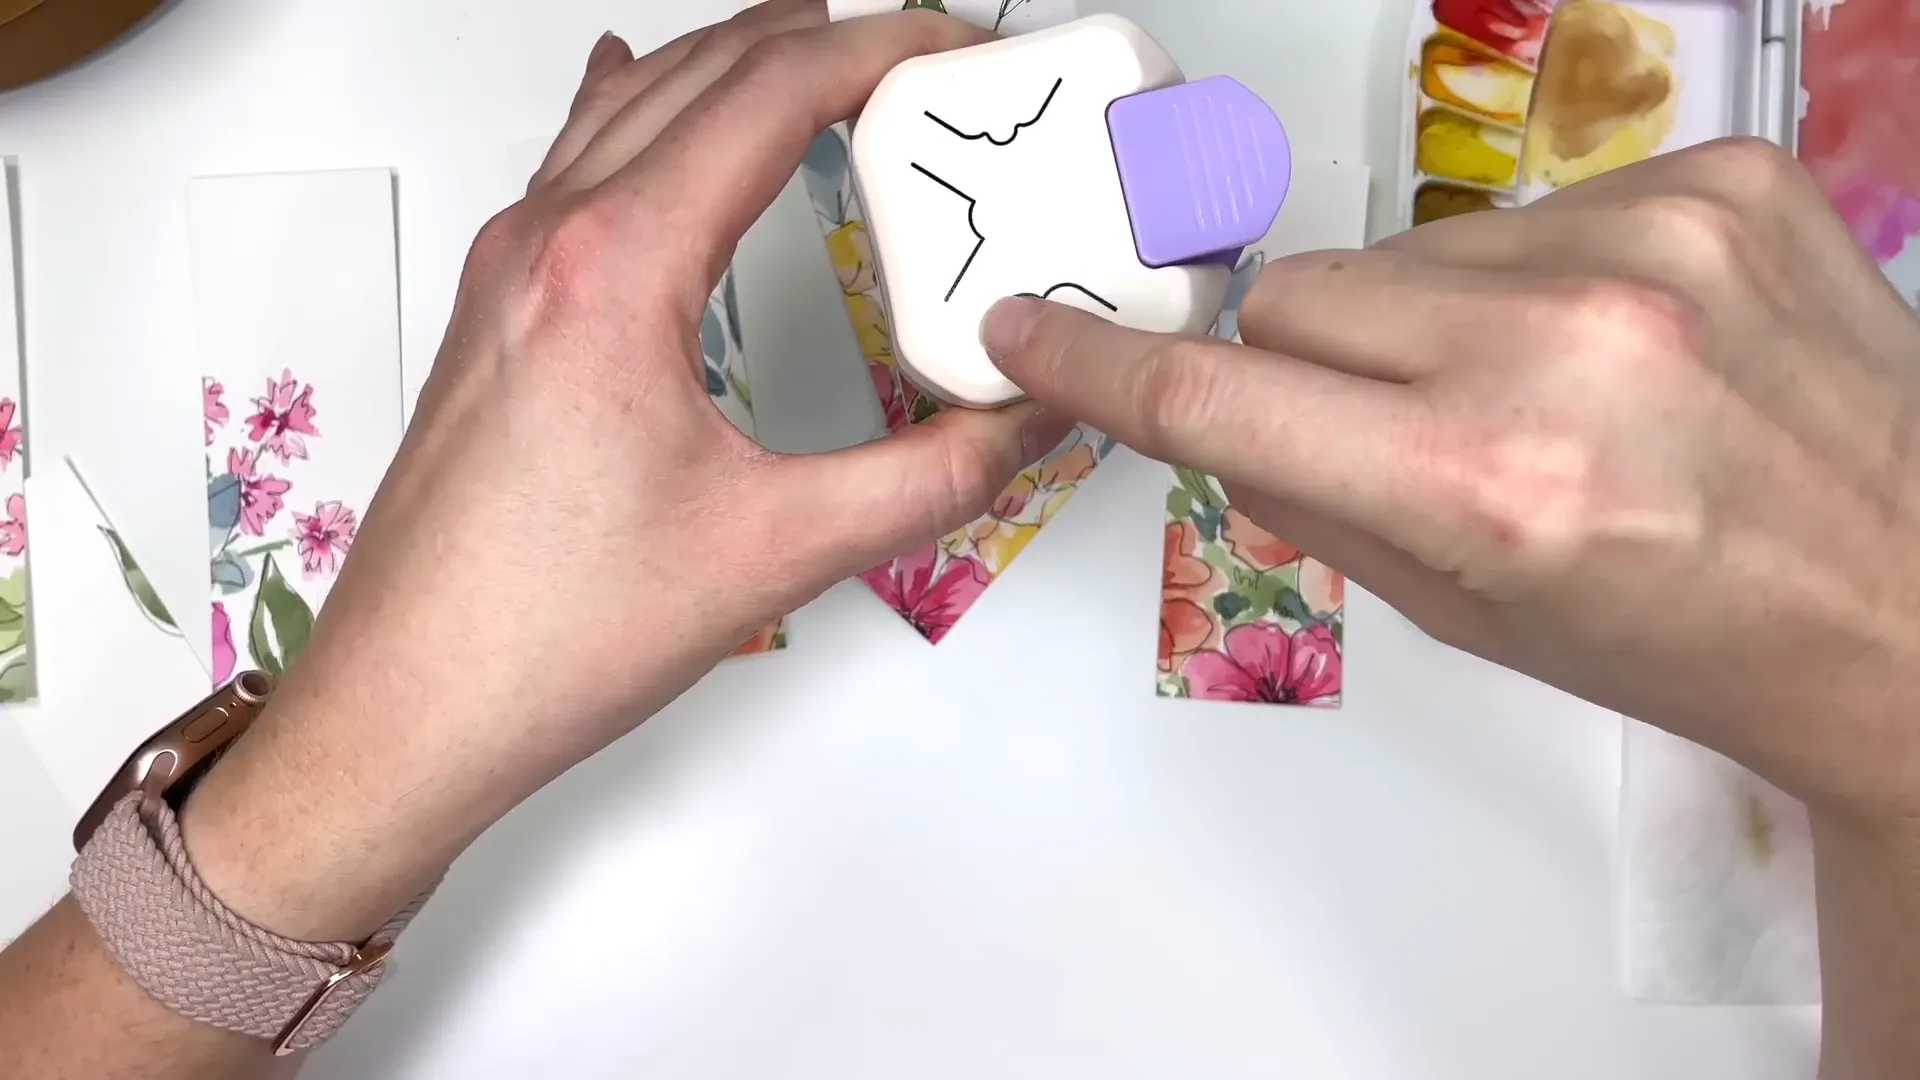
Adding Twine
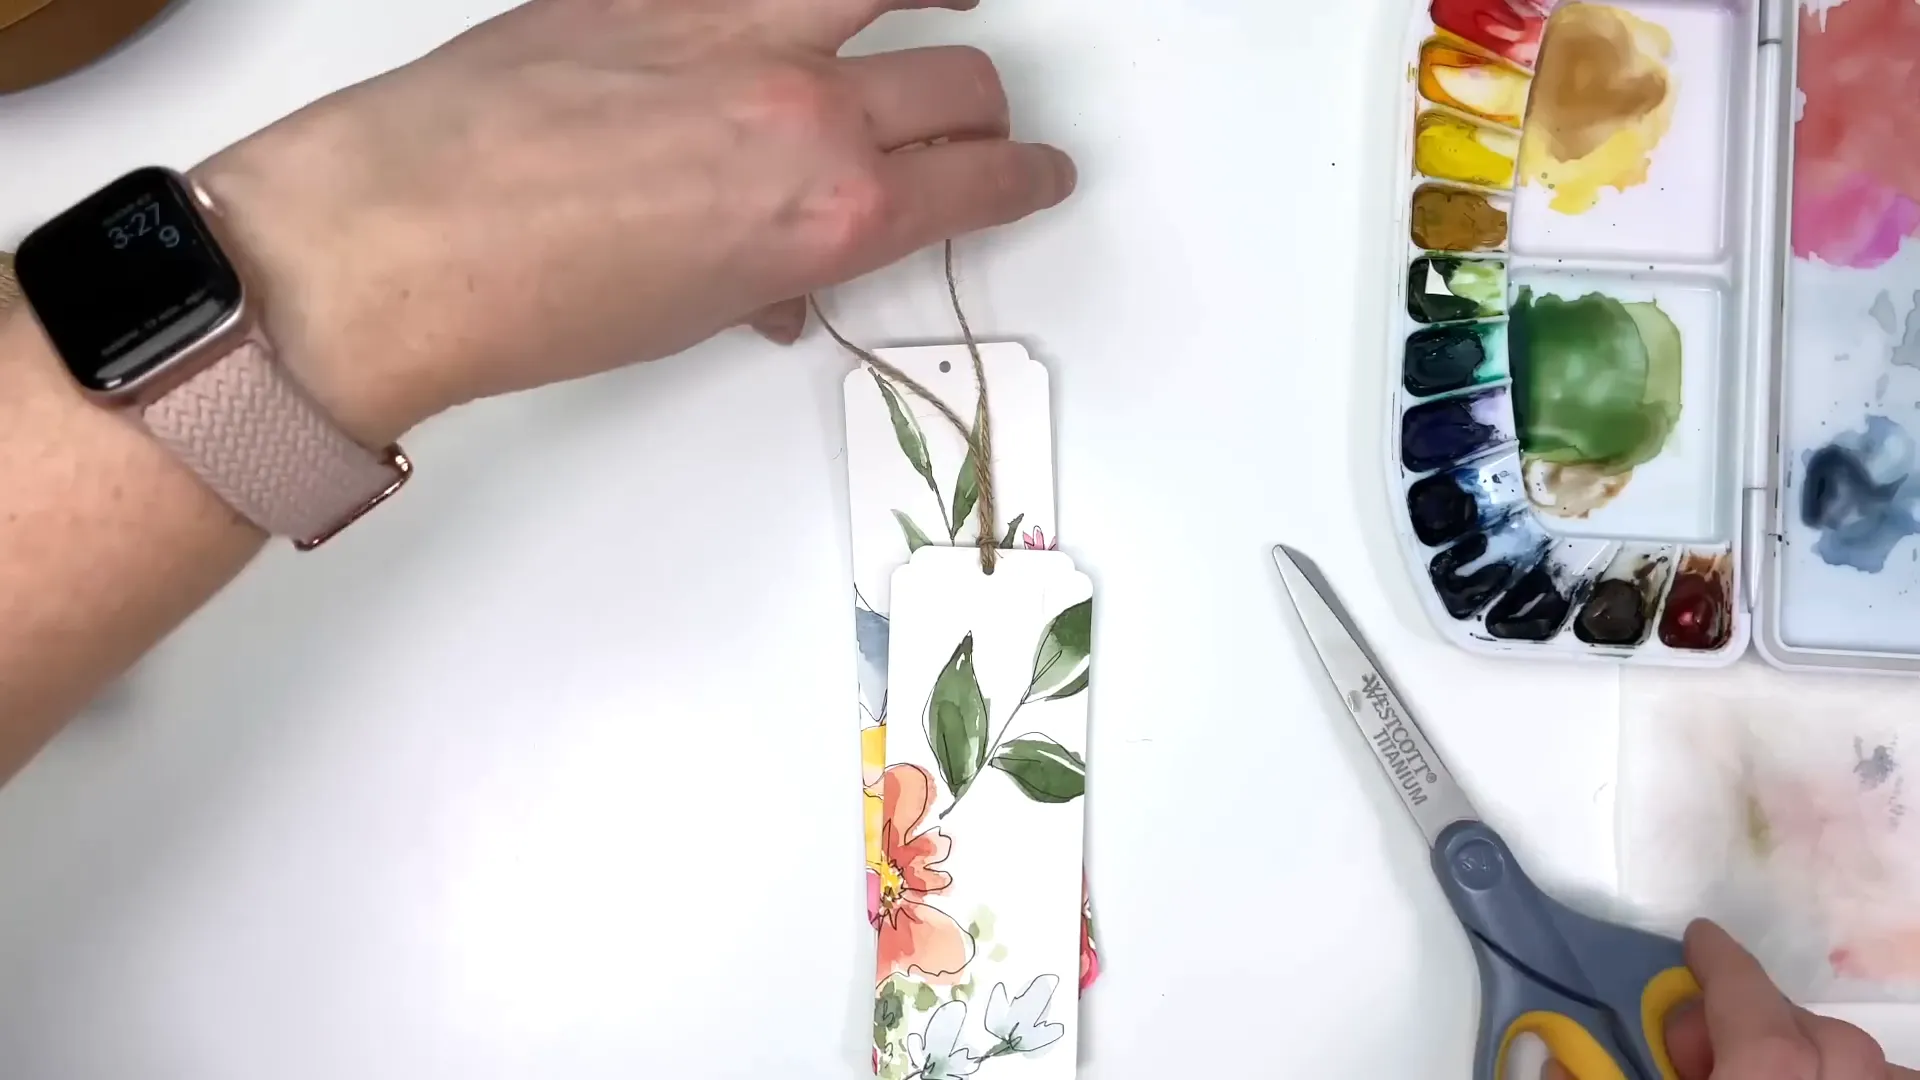
To finish off your bookmarks, cut a length of twine and create a loop through the hole. Pull the twine through to secure it in place, trimming any excess length as needed.
Conclusion
And there you have it! Beautiful watercolor floral bookmarks that are not only functional but also a lovely display of art. I hope you enjoyed this tutorial and feel inspired to create your own watercolor bookmarks. Don't hesitate to share your creations or ask any questions!
For more supplies and recommendations, check out my Amazon Shop.
Happy painting!
1 comment
These are adorable. I’m so happy I found you💜