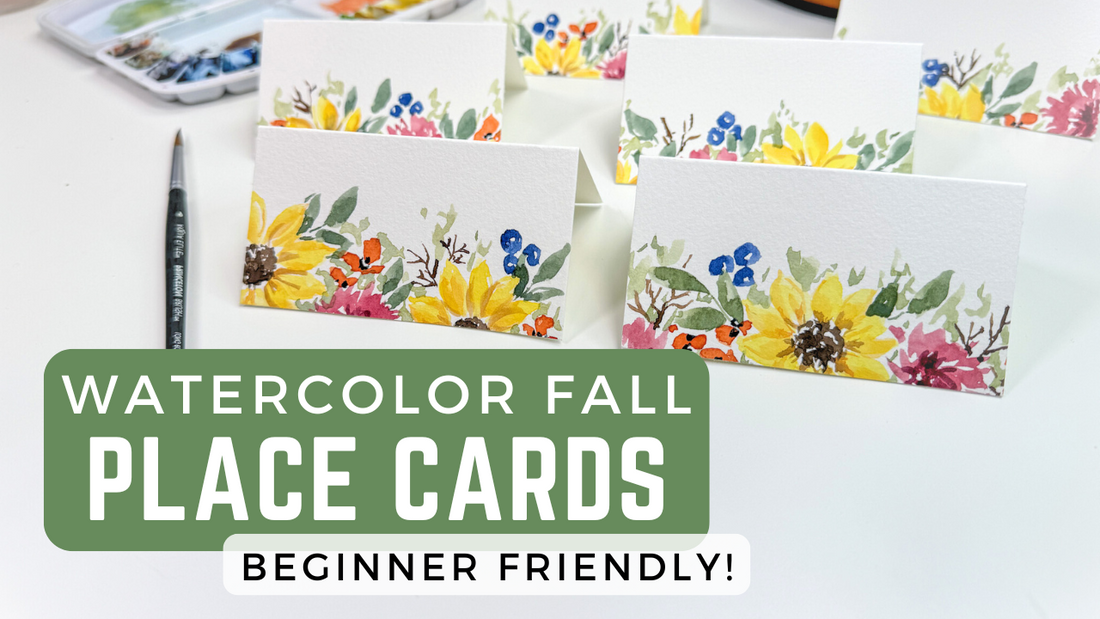
Fall is a season rich in colors and warmth, making it the perfect time to add a personal touch to your Thanksgiving table. In this post, we’ll explore how to create delightful watercolor fall place cards that will not only enhance your table setting but also impress your guests. These DIY cards are simple to make and can be customized for any event. Let’s dive into the supplies you’ll need and the step-by-step process!
Supplies You'll Need
Gathering the right supplies is crucial for this project. Here’s what you’ll need:
- Watercolor Paper: A 9x12 inch sheet of Canson XL watercolor paper.
- Watercolor Palette: A starter palette with vibrant colors (this can be found in my Watercolor Starter Pack).
- Watercolor Brushes: A variety of brushes, I used a size 6 Aqua Elite brush by Princeton.
- Paper Cutter: For cutting and scoring the paper.
- Pencil: For marking measurements lightly on the paper.
- Water and Paper Towels: For cleaning brushes and managing paint.
These supplies will help you create stunning place cards that capture the essence of fall!
Preparing Your Paper
Start by preparing your watercolor paper. Since we are making place cards, we need to mark off where we will be painting. Here’s how to do it:
- Take your 9x12 inch watercolor paper and mark the center at 4.5 inches down the length.
- Using a very light pencil, make a faint line to guide your painting.
- Next, score the paper at 2.25 inches and 4.5 inches to create folds for your place cards.
- Make sure the pencil mark is light enough that they won’t show up on the final cards.
Now your paper is ready for painting!
Painting the Sunflowers
Sunflowers are a classic fall flower, and they will be the main focus of your place cards. Here’s how to paint them:
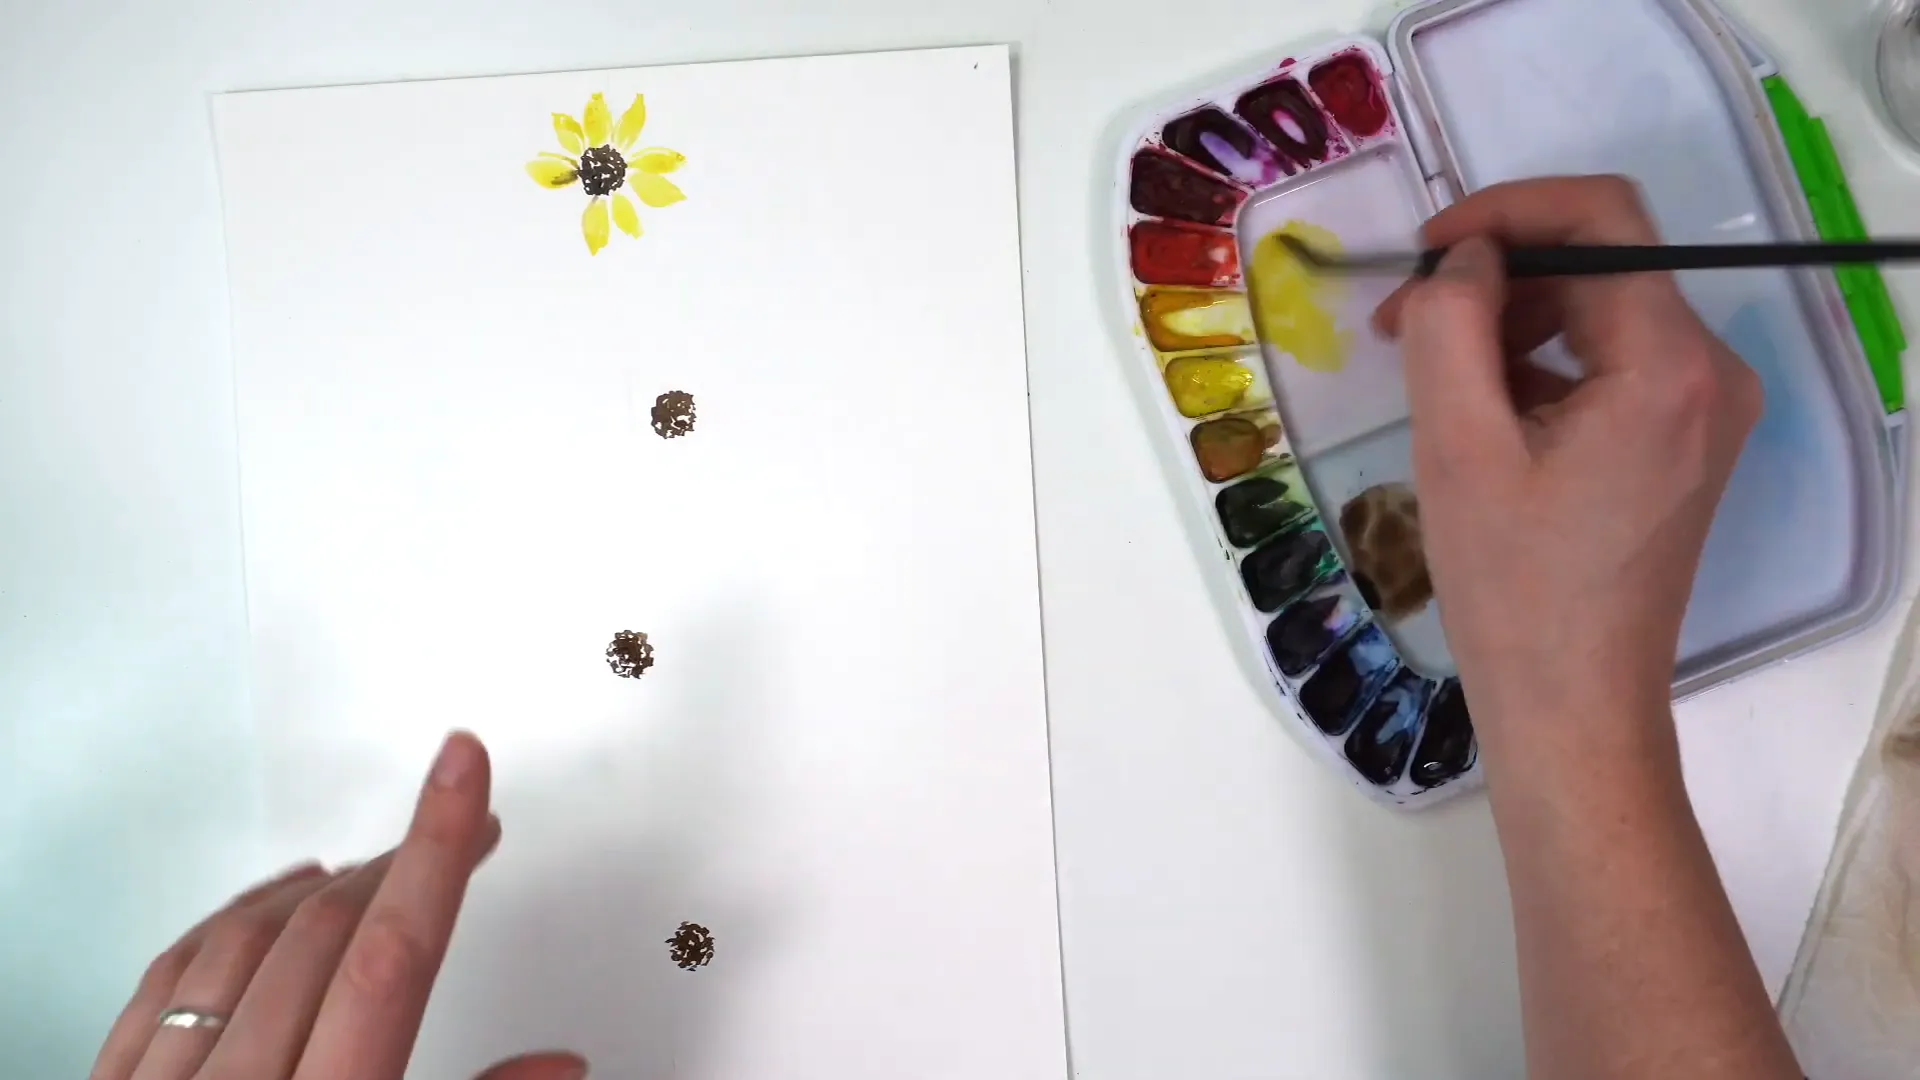
- Mix a dark brown color using burnt umber and Payne's gray for the centers of your sunflowers.
- Using your size 6 brush, scumble the centers by making tiny, textured marks.
- Once the centers are done, mix a vibrant yellow (cadmium yellow with a touch of lemon yellow) for the petals.
- Start painting the petals by making tiny leaf shapes around the center. Begin light, press down for width, and lift for points at the ends.
- Don’t worry about making every petal identical; a variety of shapes adds character!
Adding Depth with Layering
Once your sunflowers have dried, it’s time to add depth and dimension:
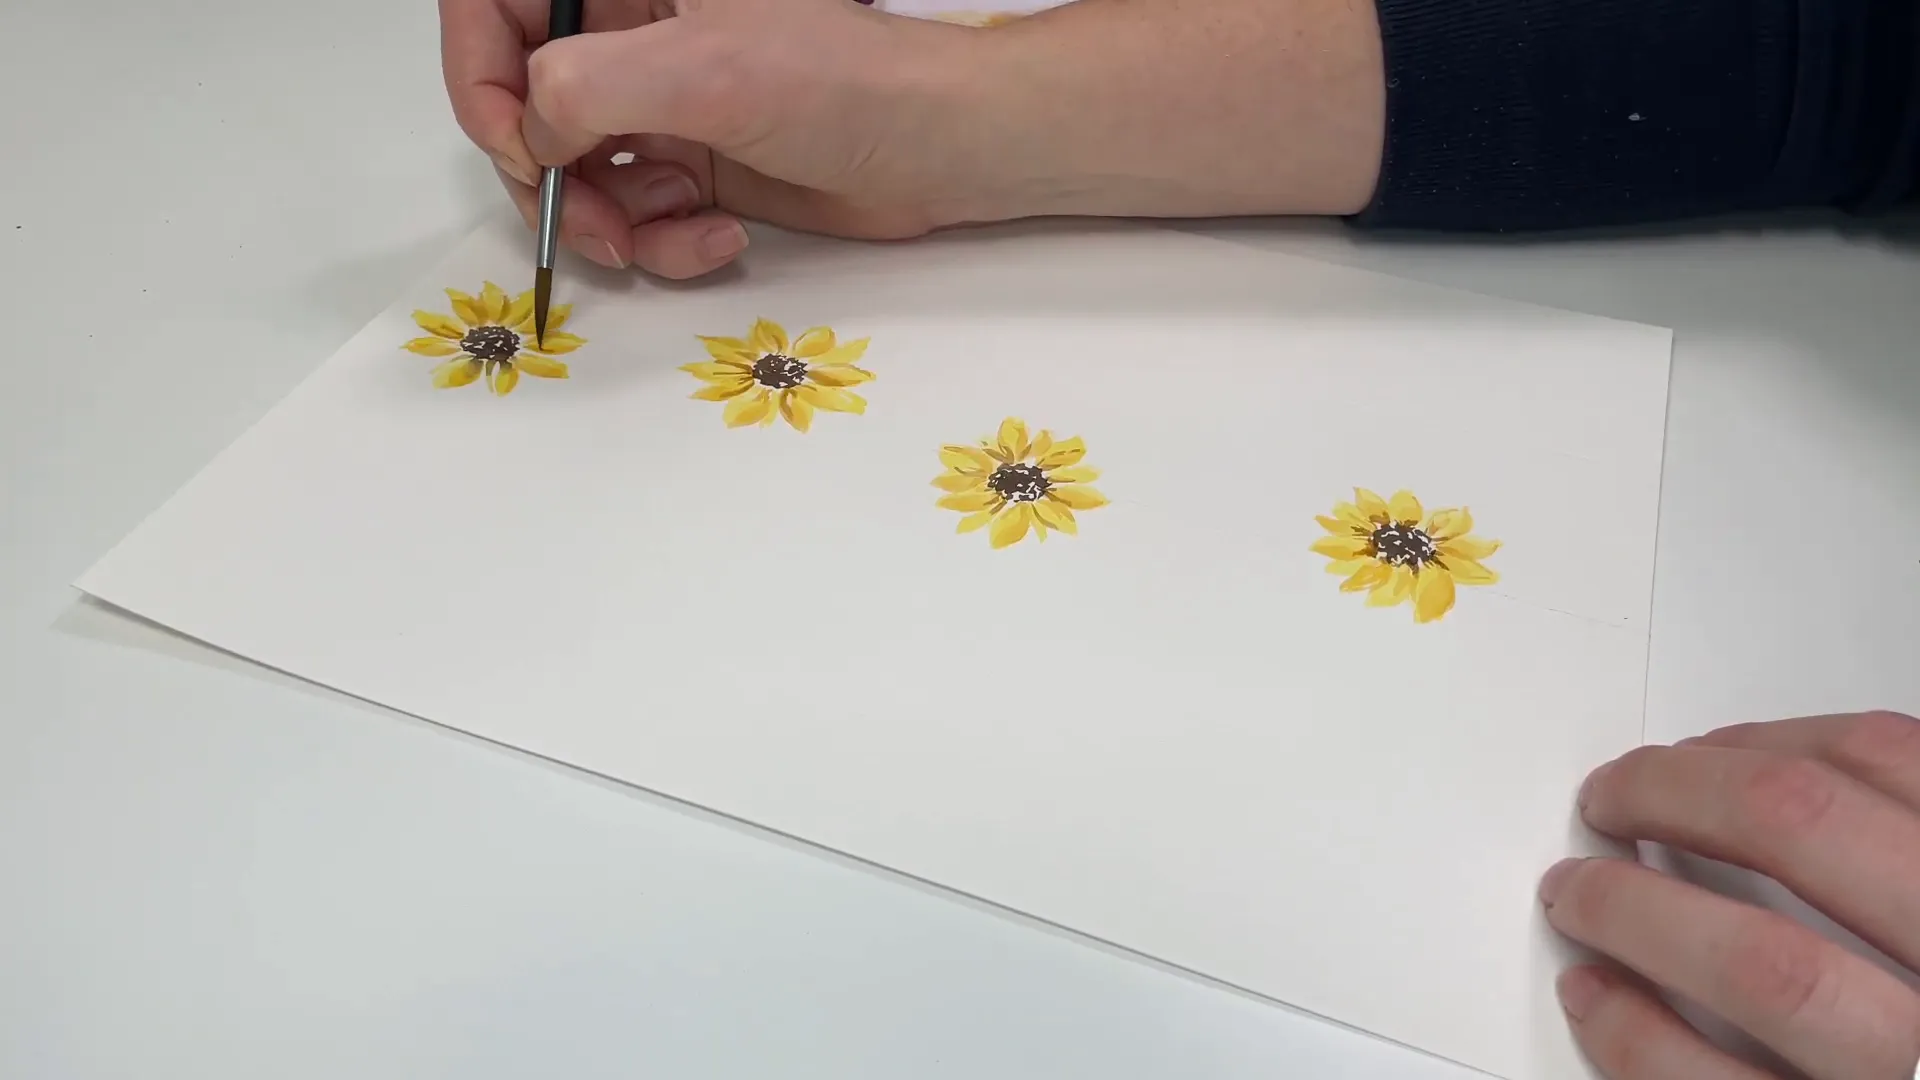
- Mix a slightly darker shade by adding a bit of red and burnt sienna to your yellow.
- Apply this mixture to the inside of some petals to create shadows and enhance the flower’s shape.
- Consider adding a second layer to achieve a more vibrant look.
This layering technique will make your sunflowers pop!
Incorporating Other Fall Flowers
Now let’s add more variety with some additional fall flowers:
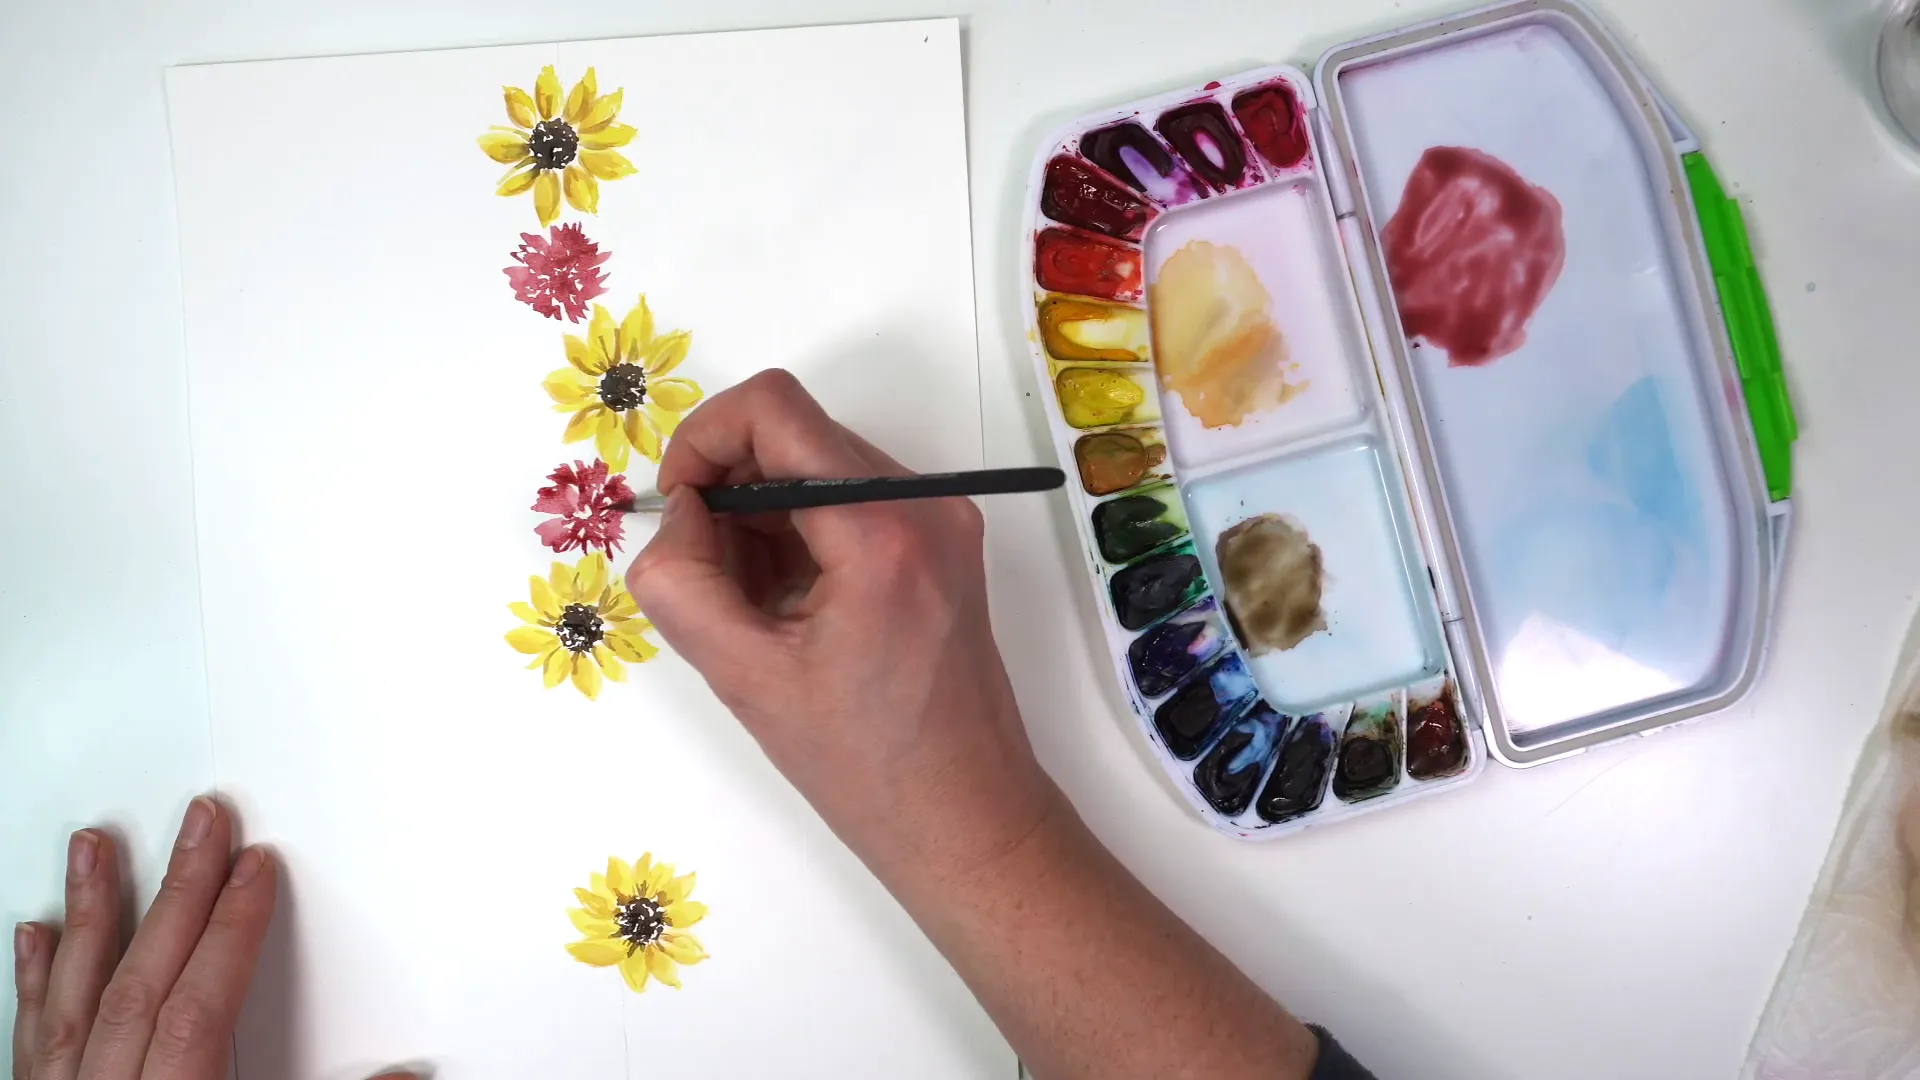
- For a chrysanthemum-like flower, use a mix of alizarin crimson, burnt sienna, and ultramarine blue to achieve a rich, warm color.
- Paint these flowers in a zigzag pattern to create a fluffy, textured appearance.
- Leave some space in the middle for more dimension.
Adding Greenery
Greenery brings your floral arrangements to life. Here’s how to add leaves:
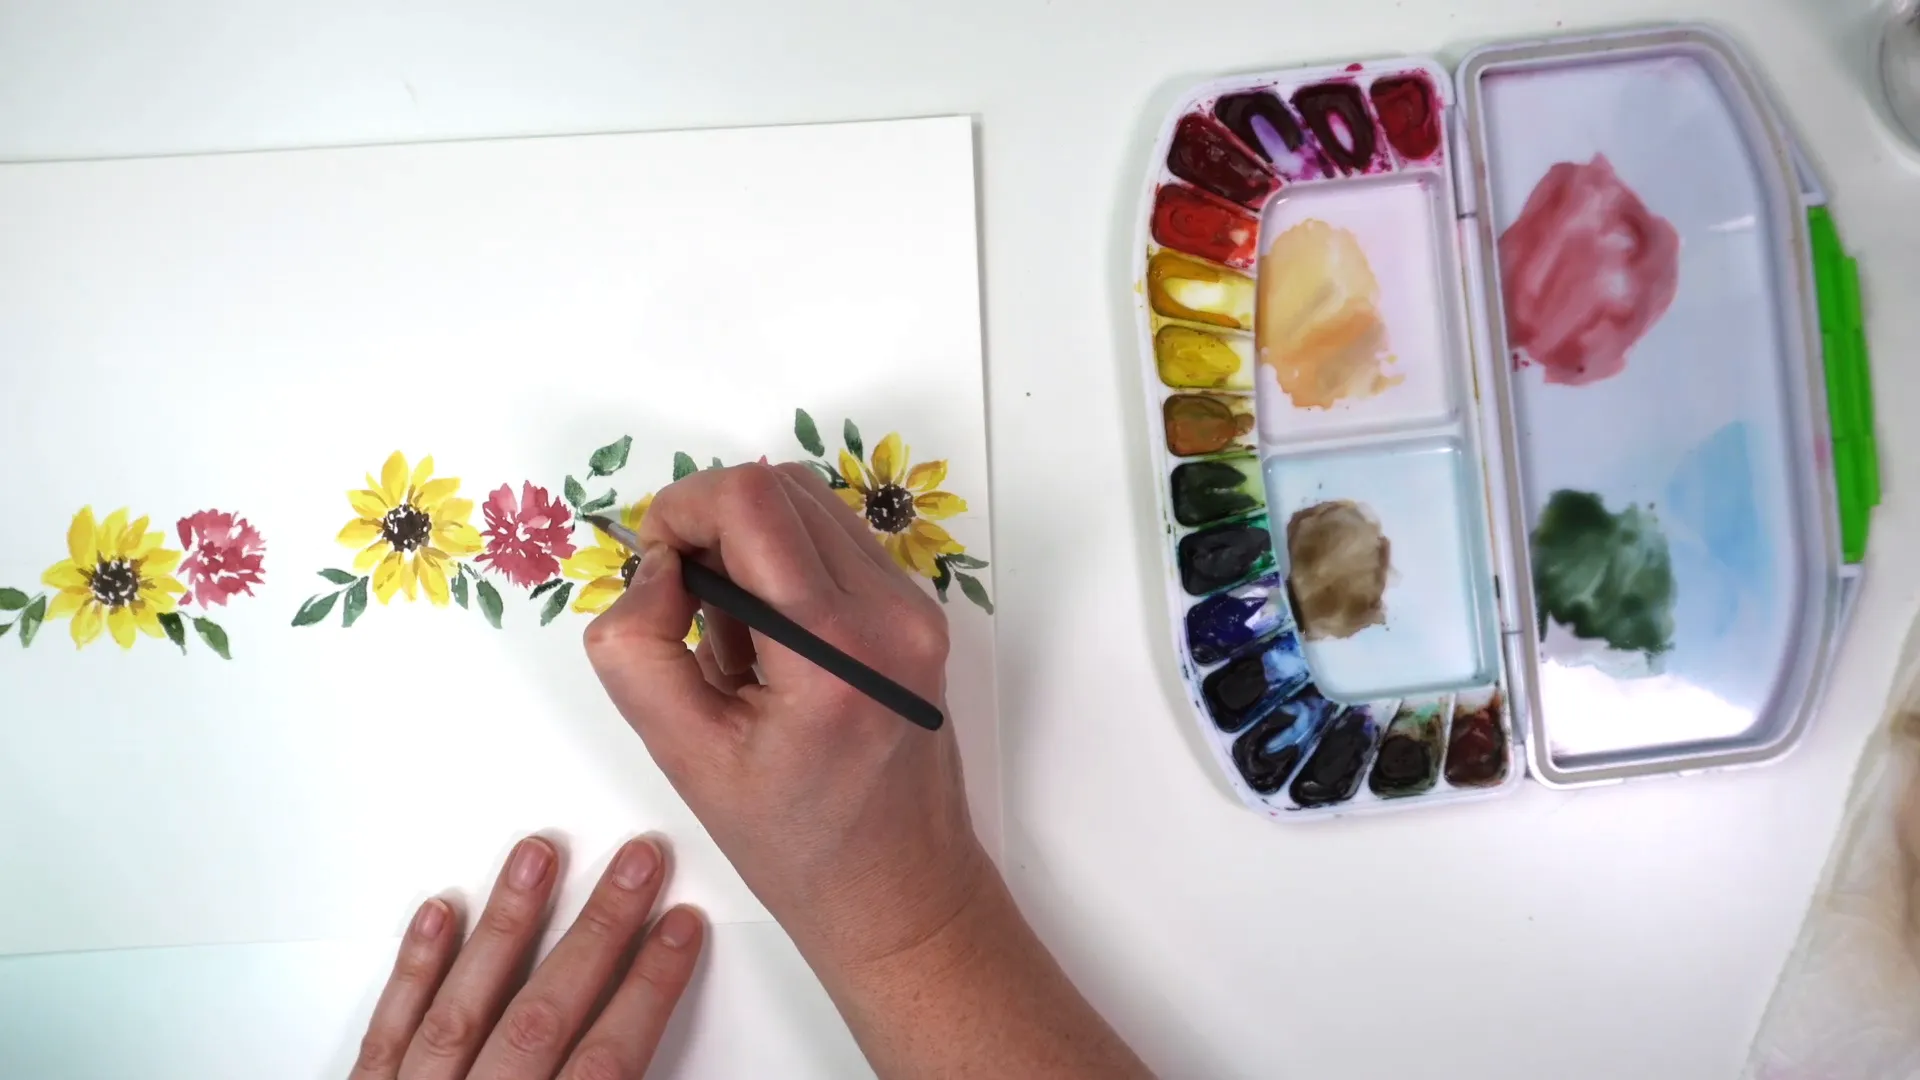
- Mix ultramarine blue with cadmium yellow to create a mossy green.
- Paint leaves shooting upwards from the base of the flowers to frame your arrangement.
- Be mindful of the score line so that you leave enough room for writing names later.
Final Touches
To complete your place cards, consider adding some finishing touches:
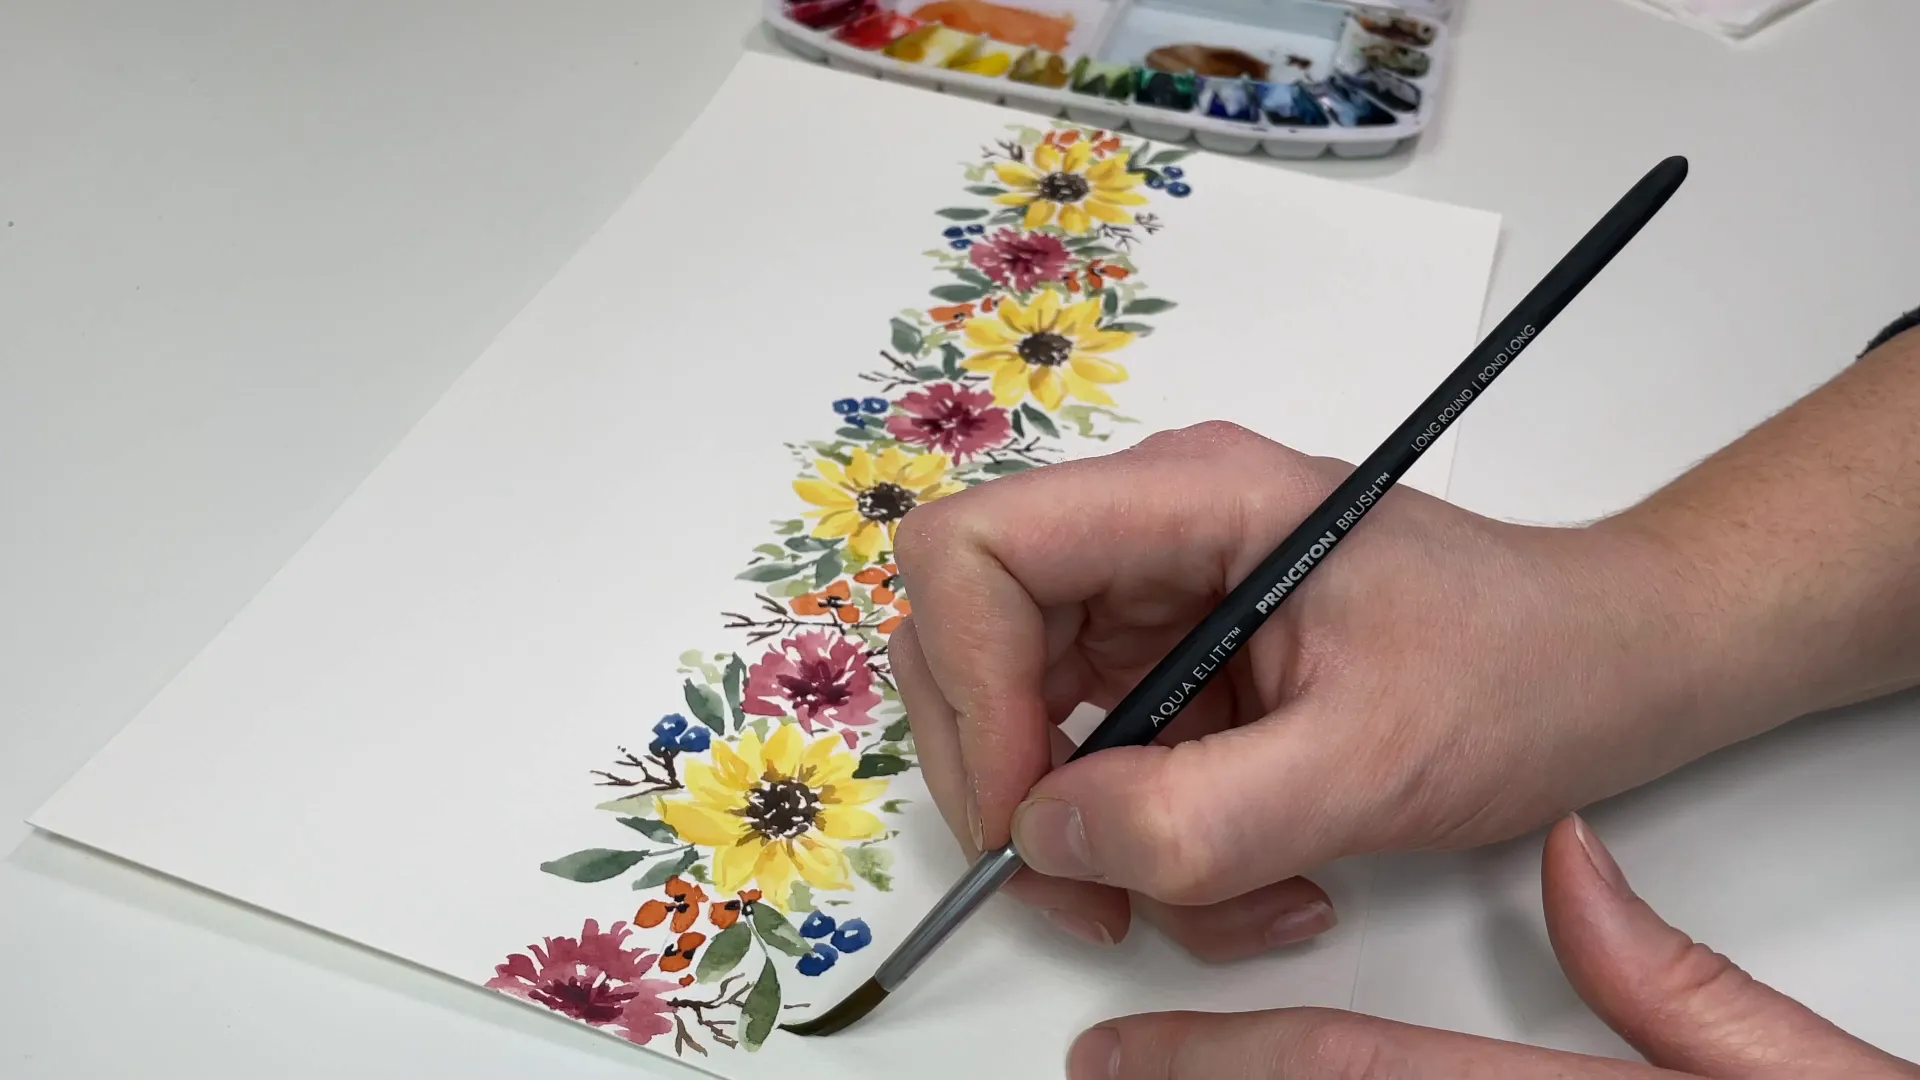
- Mix a rusty orange color using cadmium red, burnt umber, and a bit of cadmium yellow to create small flowers.
- Add tiny twigs using a brown mixture to give height and movement to your arrangement.
- For a playful touch, incorporate little blue berries made from ultramarine blue and Payne's gray.
Cutting and Folding Your Place Cards
Once your artwork has dried, it’s time to cut and fold:
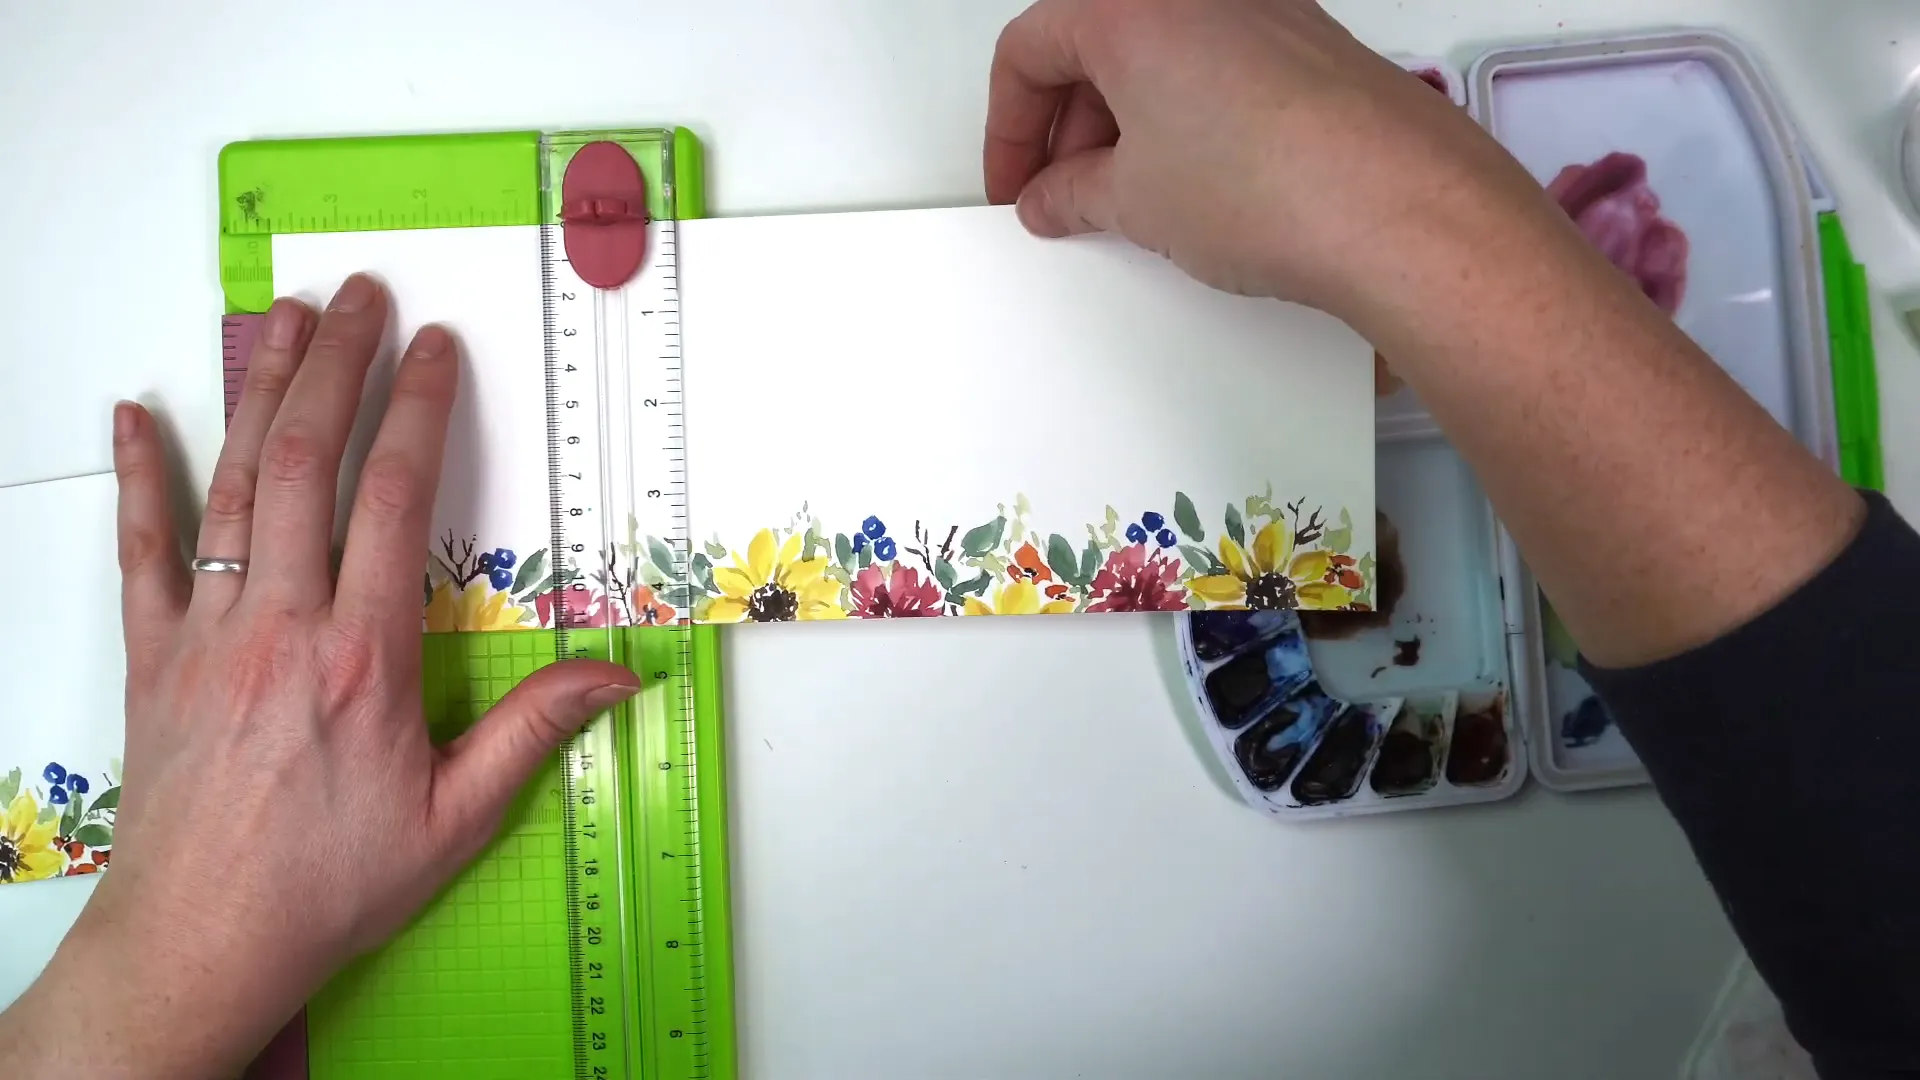
- Use your paper trimmer to cut the paper along the score line.
- Then, cut each half into four-inch sections, resulting in your place cards.
- Fold along the score line, and you have your beautiful fall place cards ready!
Personalizing Your Place Cards
Now that your cards are complete, you can personalize them by writing guests' names in the blank area. These cards will not only serve as place settings but also as lovely mementos for your guests to take home.
Conclusion
Creating watercolor fall place cards is a fun and rewarding project that adds a personal touch to your Thanksgiving celebration. With just a few supplies and some creativity, you can make beautiful cards that enhance your table setting. I hope you enjoyed this tutorial and feel inspired to try it yourself!
For more art supplies and inspiration, check out my website and follow me on Instagram for more creative ideas!
