Watercolor roses are a beautiful subject for any artist, but they can be challenging to master. In this guide, we will explore how to paint loose watercolor roses, addressing common mistakes beginners often make. By understanding these pitfalls and learning some effective techniques, you can create stunning floral artwork. Let’s dive in!
Supplies Needed for Painting Watercolor Roses
Before we start painting, it's essential to gather the right supplies. Here’s a list of what you’ll need:
- Watercolor Paper: I recommend Canson XL watercolor paper for its quality.
- Brush: A Princeton Neptune size 10 brush is ideal as it holds a lot of water.
- Watercolor Paints: I use a professional palette comprising various colors, particularly quinacridone magenta for roses.
For those interested, you can find free swatches of all 36 colors in my watercolor palette, which includes links to purchase your own.
Understanding the Anatomy of a Rose
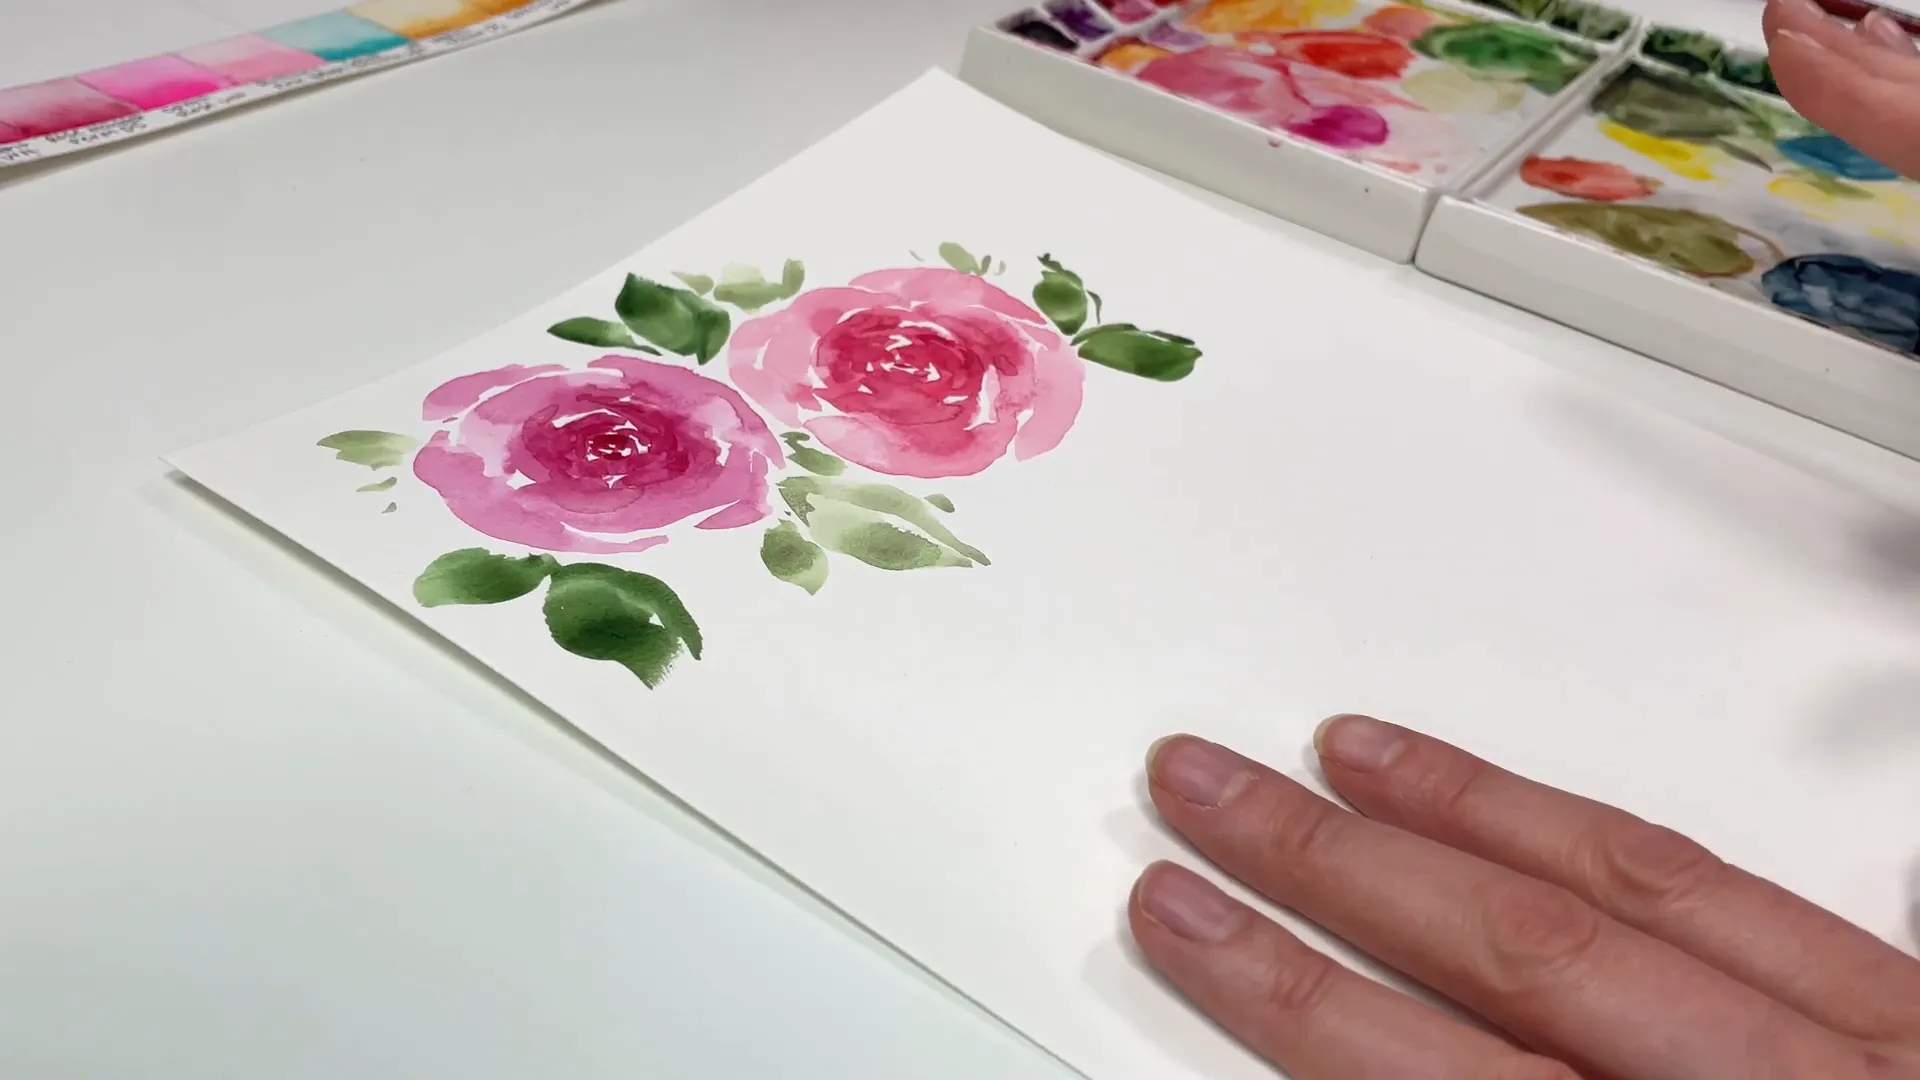
Before we put brush to paper, it’s important to understand the structure of a rose. When painting a rose from a bird's-eye view, focus on the shapes that make up the petals. These shapes are often crescent-like, with variations in smoothness and wave-like edges. As you paint, start with smaller strokes for the inner petals and gradually make them longer and wider as you move outward.
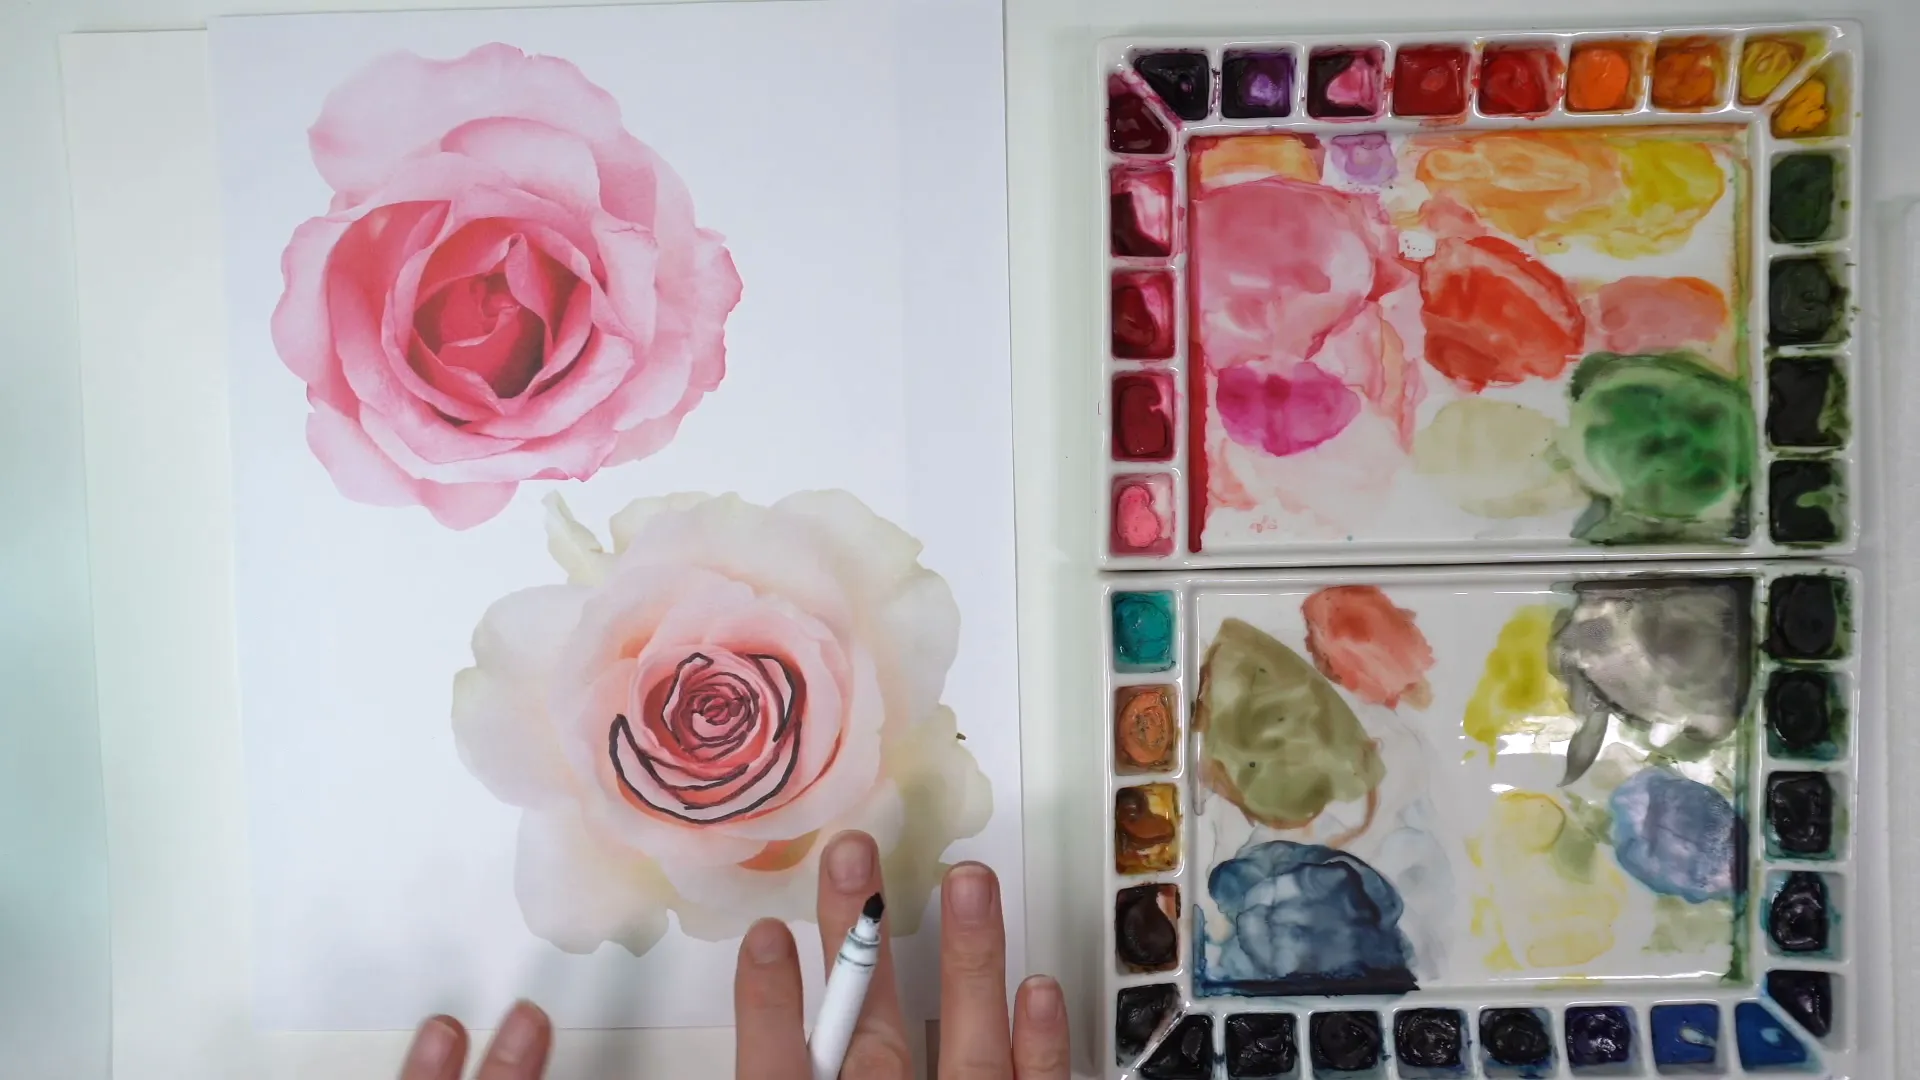
Painting Your First Rose
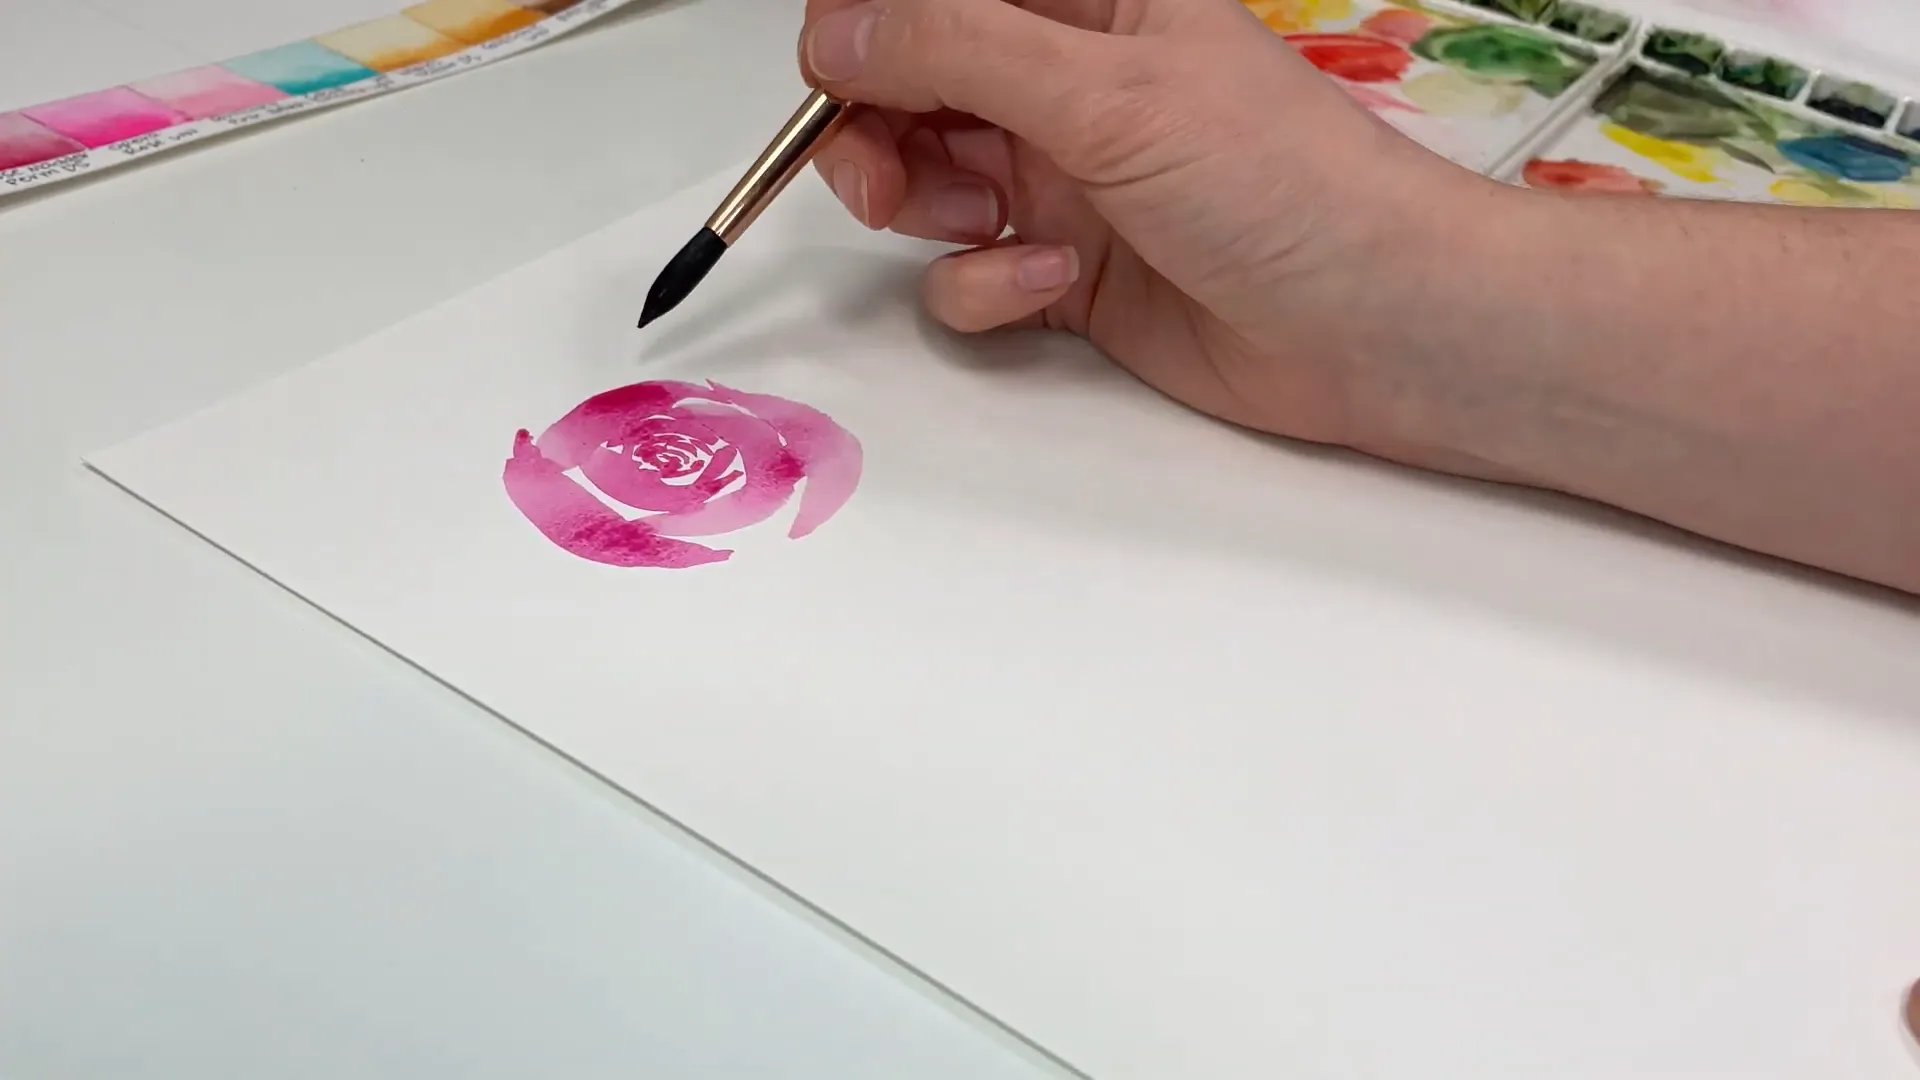
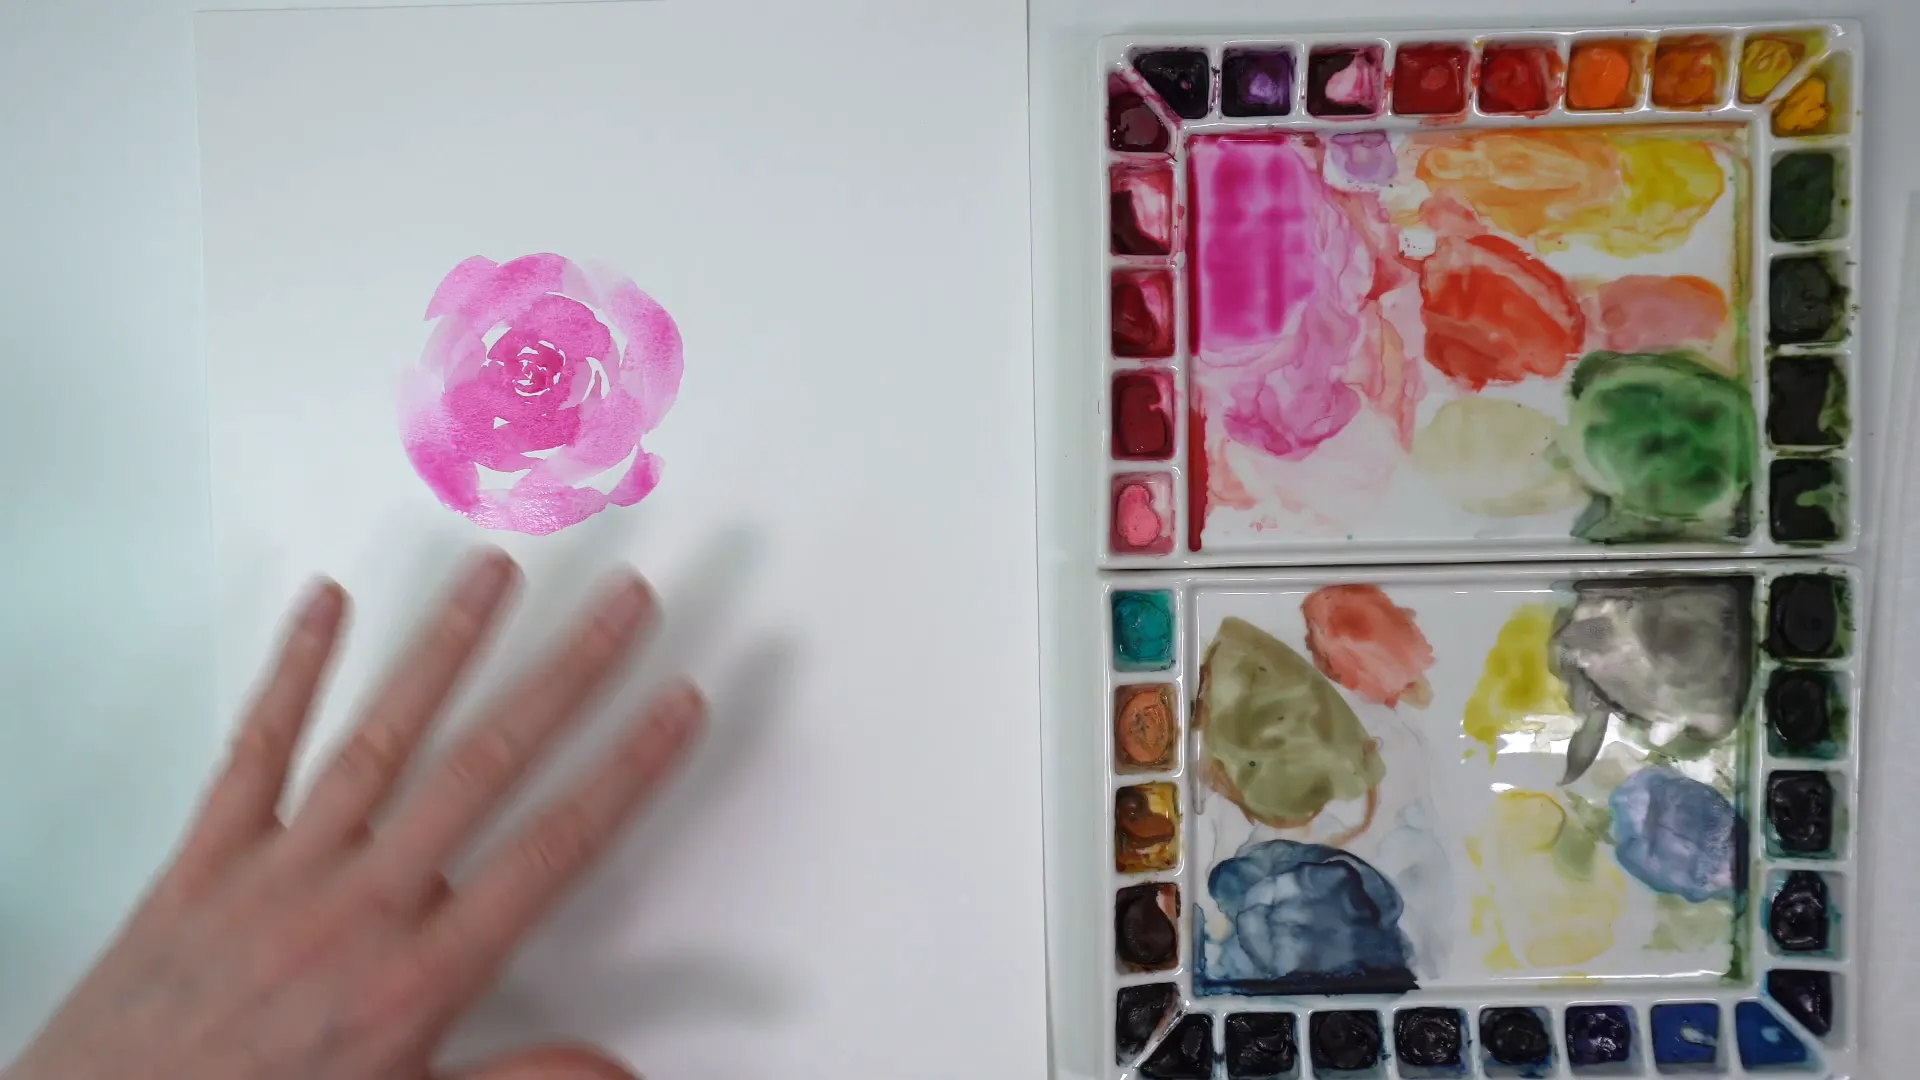
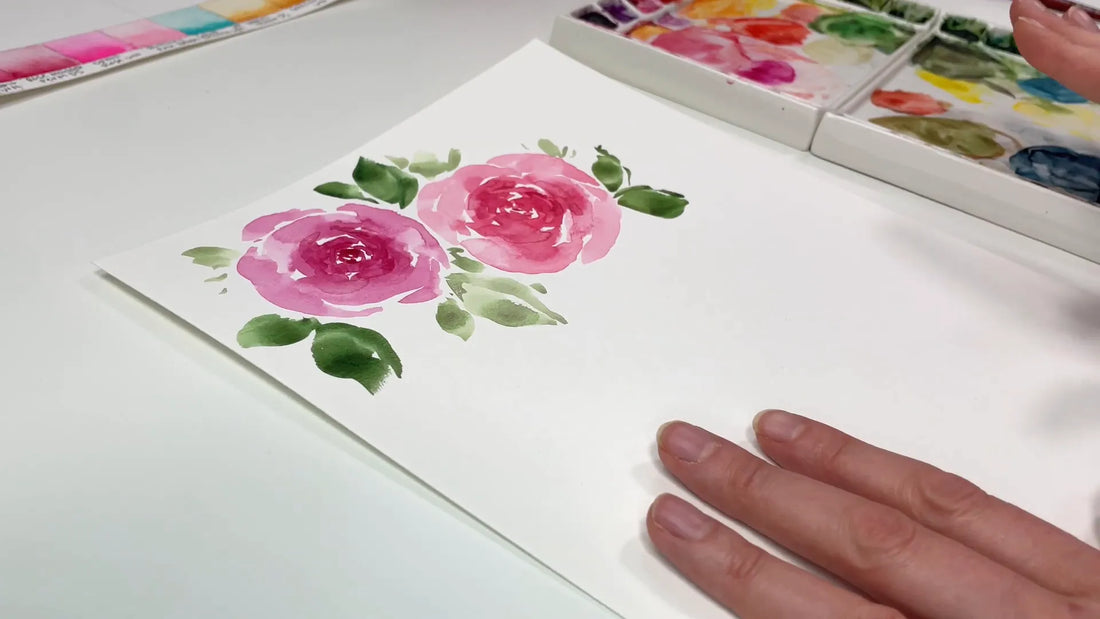
Let’s jump into the painting process. Start by mixing quinacridone magenta with a decent amount of water to create a puddle on your palette. The goal is to achieve a soft, not overly pigmented color for the center of your rose.
Begin by making tight, crescent-shaped strokes in the center of the rose. As you work outward, press your brush down to widen the strokes, layering them on top of one another like a cinnamon roll. This technique helps create depth and dimension.
Common Mistakes in Painting Roses
As you embark on your journey to create beautiful roses, be aware of these common mistakes that beginners often make:
1. The Rainbow Effect
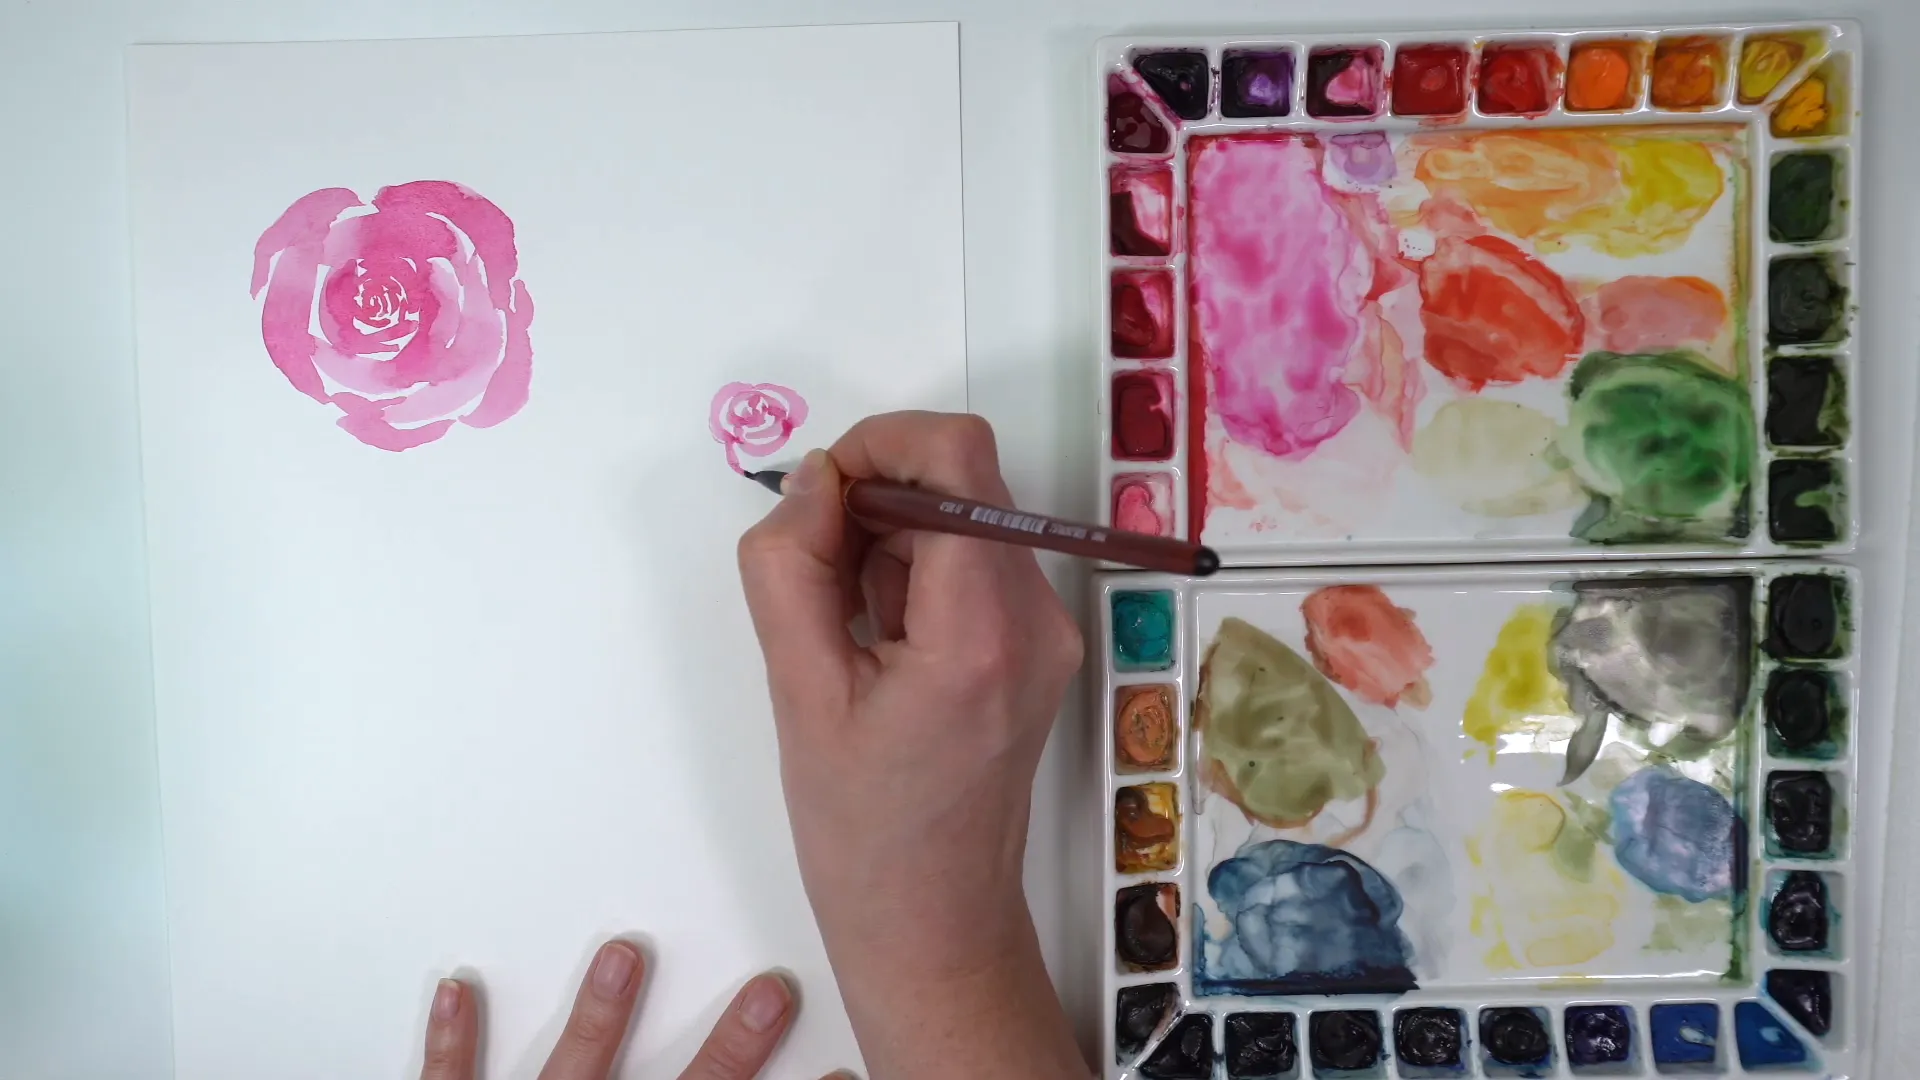
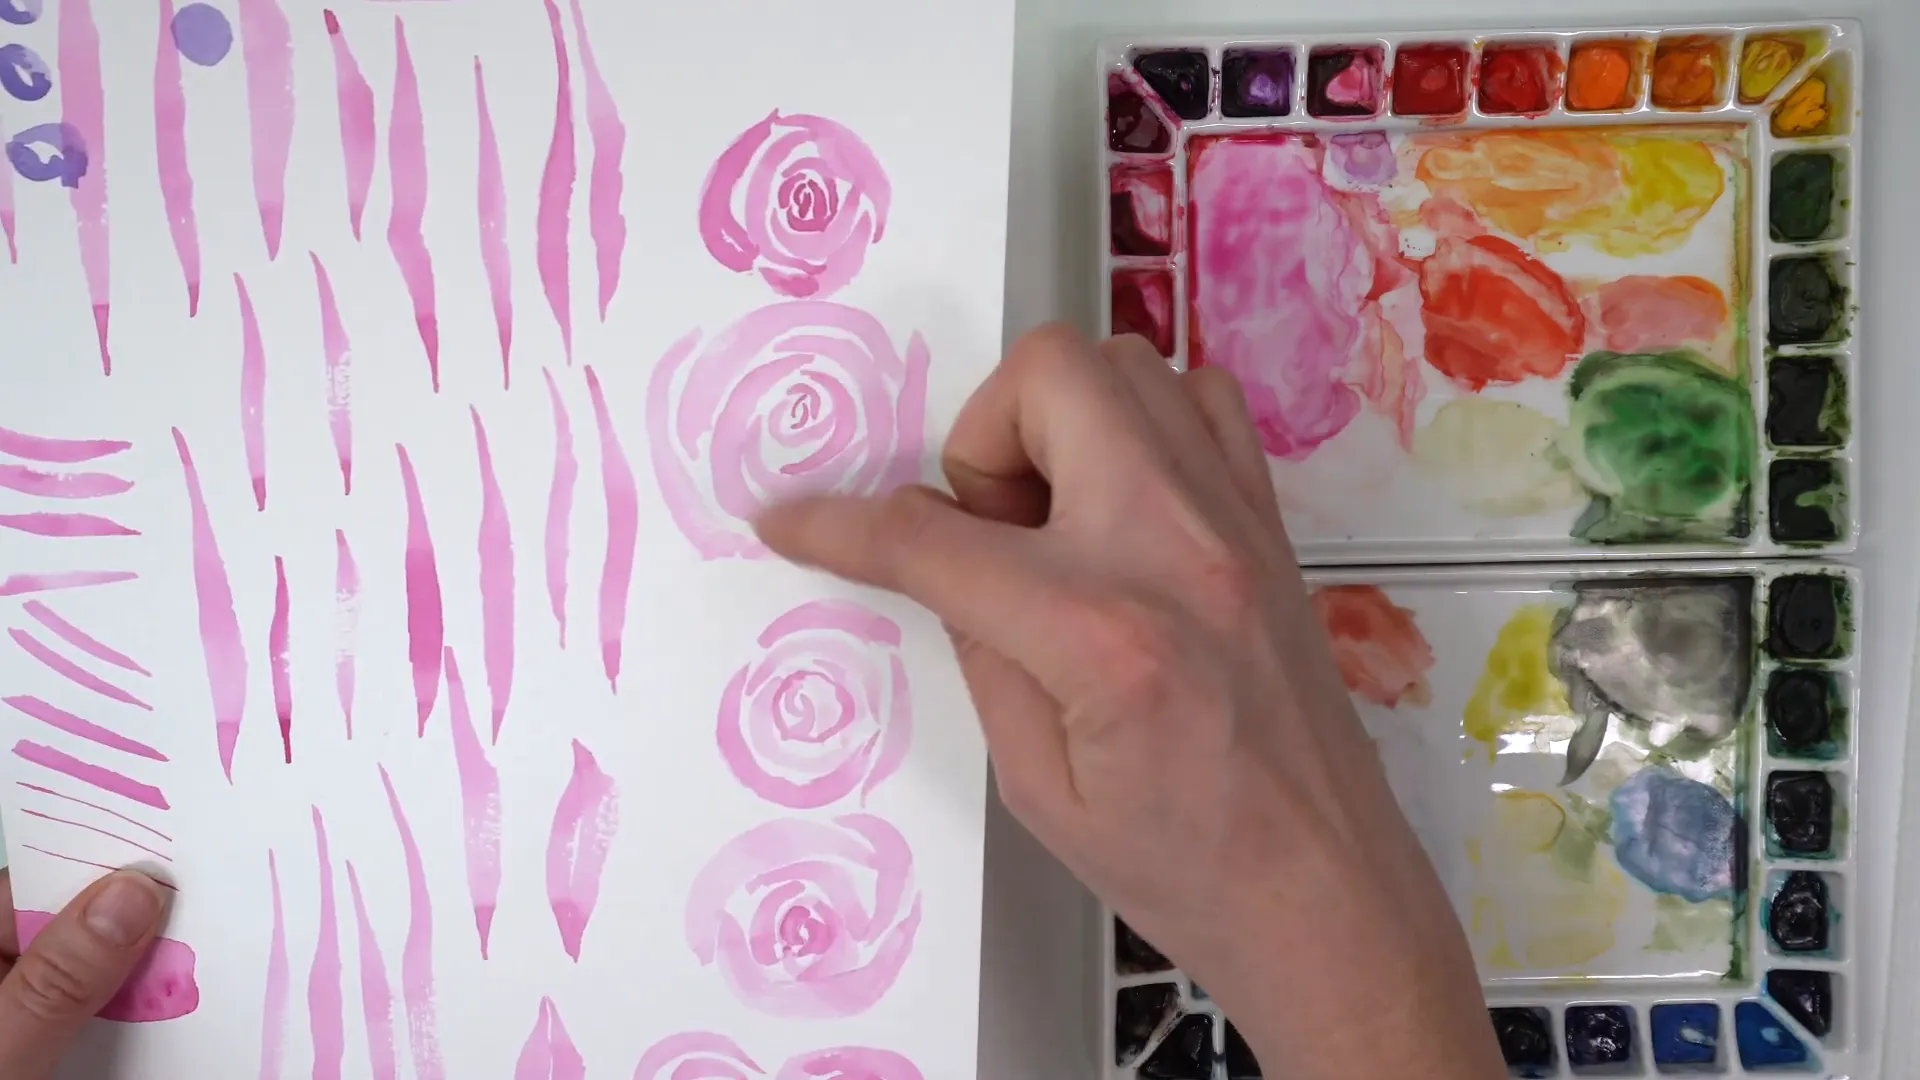
One of the most frequent issues is what I call the "rainbow" effect. This occurs when petals are painted in a way that connects one end to another, creating a series of connected arcs instead of distinct petals. To avoid this, focus on keeping the corners of the petals free. Make sure that the edges of your strokes do not touch, allowing for more defined petal shapes.
2. Disconnected Petals
Another common error is creating petals that look disjointed or floating. To combat this, think of the petals as needing to "scooch in closer." Start with tight strokes in the center, ensuring minimal white space, and gradually allow them to touch as you work outward. This connectedness will give your rose a more cohesive look.
3. Lack of Water
A third mistake that leads to scratchy textures is using insufficient water on your brush. A watercolor brush should be loaded with water to allow the paint to flow smoothly. If your brush is too dry, it will result in uneven strokes and an unsatisfactory finish. Make sure to dip your brush deeply into the paint, ensuring it is well-loaded with both paint and water.
Creating Dimension in Your Roses
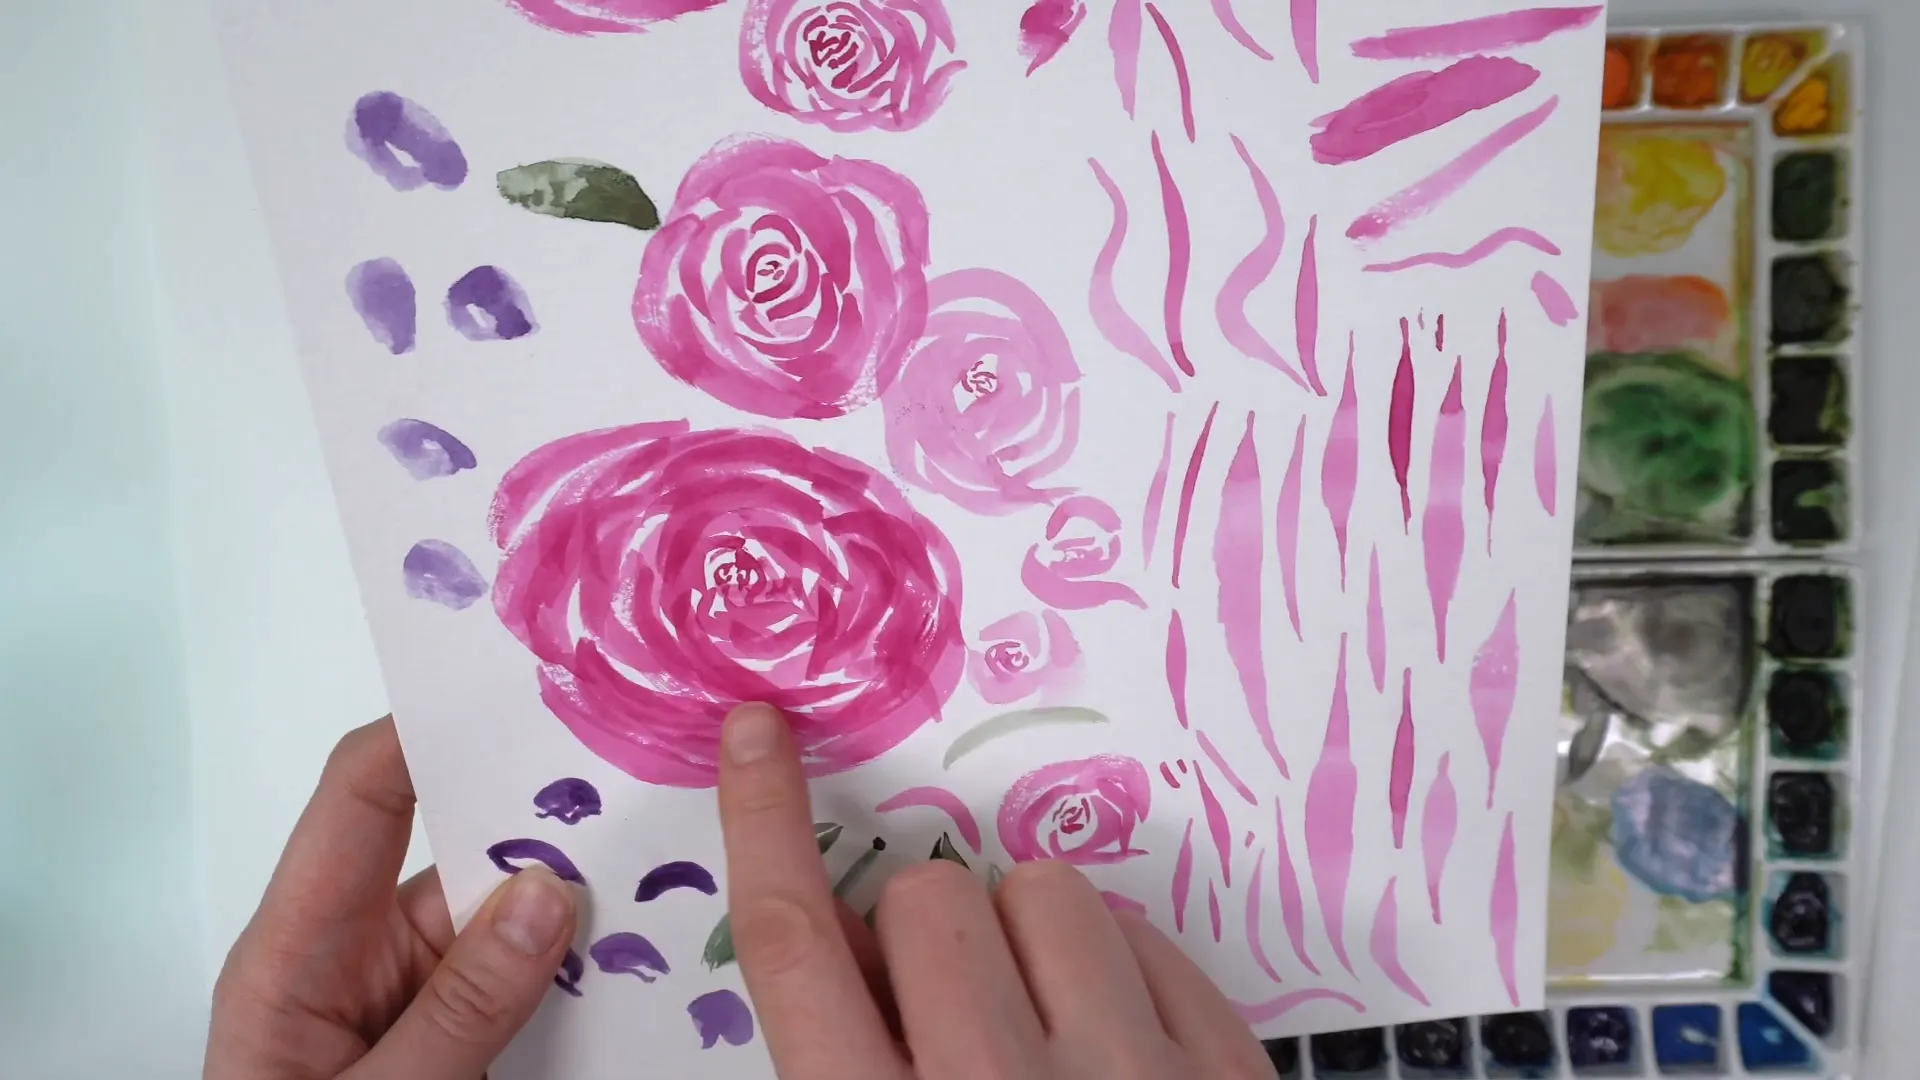
After your initial layer dries, you may find that the colors lighten. To bring back definition, apply a second layer of slightly darker paint to the center and edges of the petals. This technique enhances the depth and dimension of your rose.
Finishing Touches: Adding Greenery
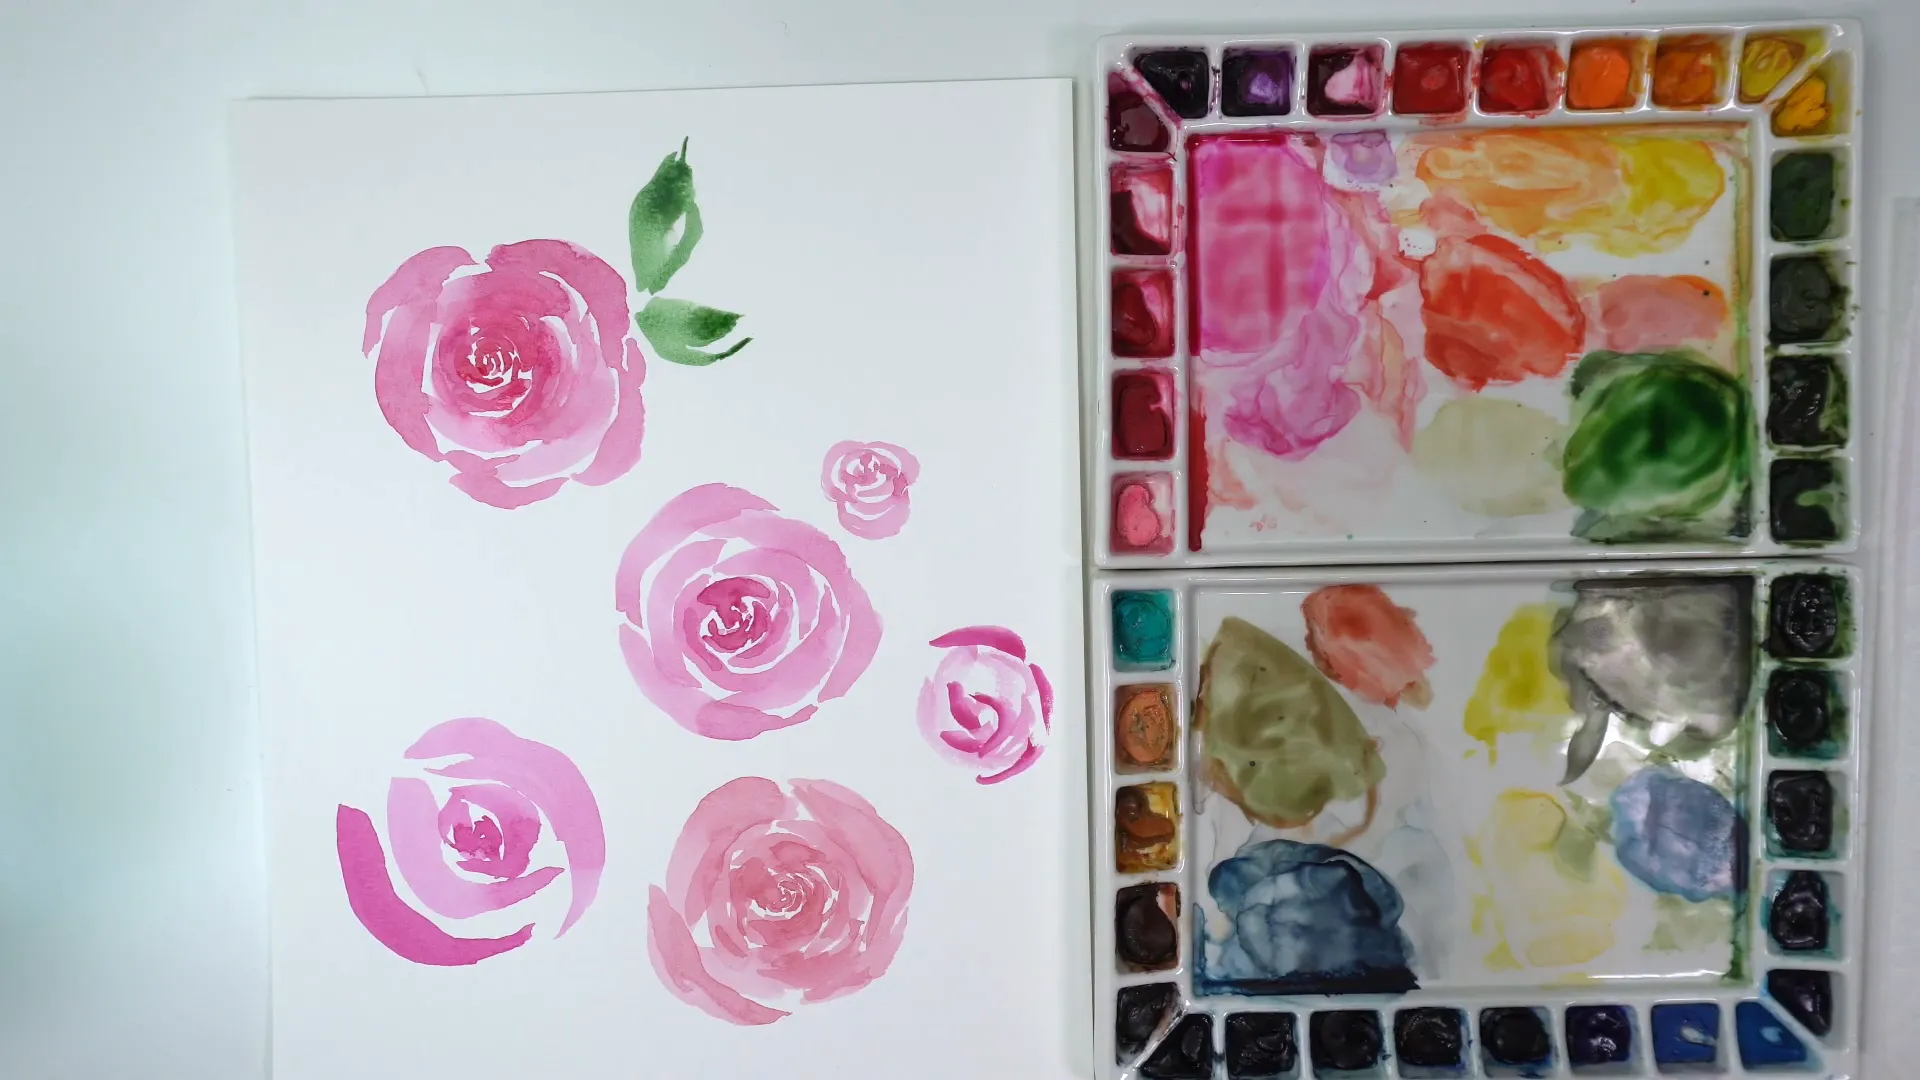
To complete your rose painting, add some greenery. The contrast of pink and green helps the floral elements pop. I recommend using a premixed green like Green Appetite or Jade Genuine to add a beautiful touch to your composition.
Final Thoughts
Painting loose watercolor roses can be a delightful and rewarding experience. By understanding the structure of a rose, being mindful of common mistakes, and practicing the techniques shared, you can create stunning floral artworks. If you have any questions or struggles while painting, feel free to drop a comment below. I would love to help you further!
For more tips and tutorials, don’t forget to check out my website or follow me on Instagram.

1 comment
Can I use " cake " watercolors instead of tubes? I have tons of colors with the cake ones… I know the consistency is not the same….but want your opinion please!